
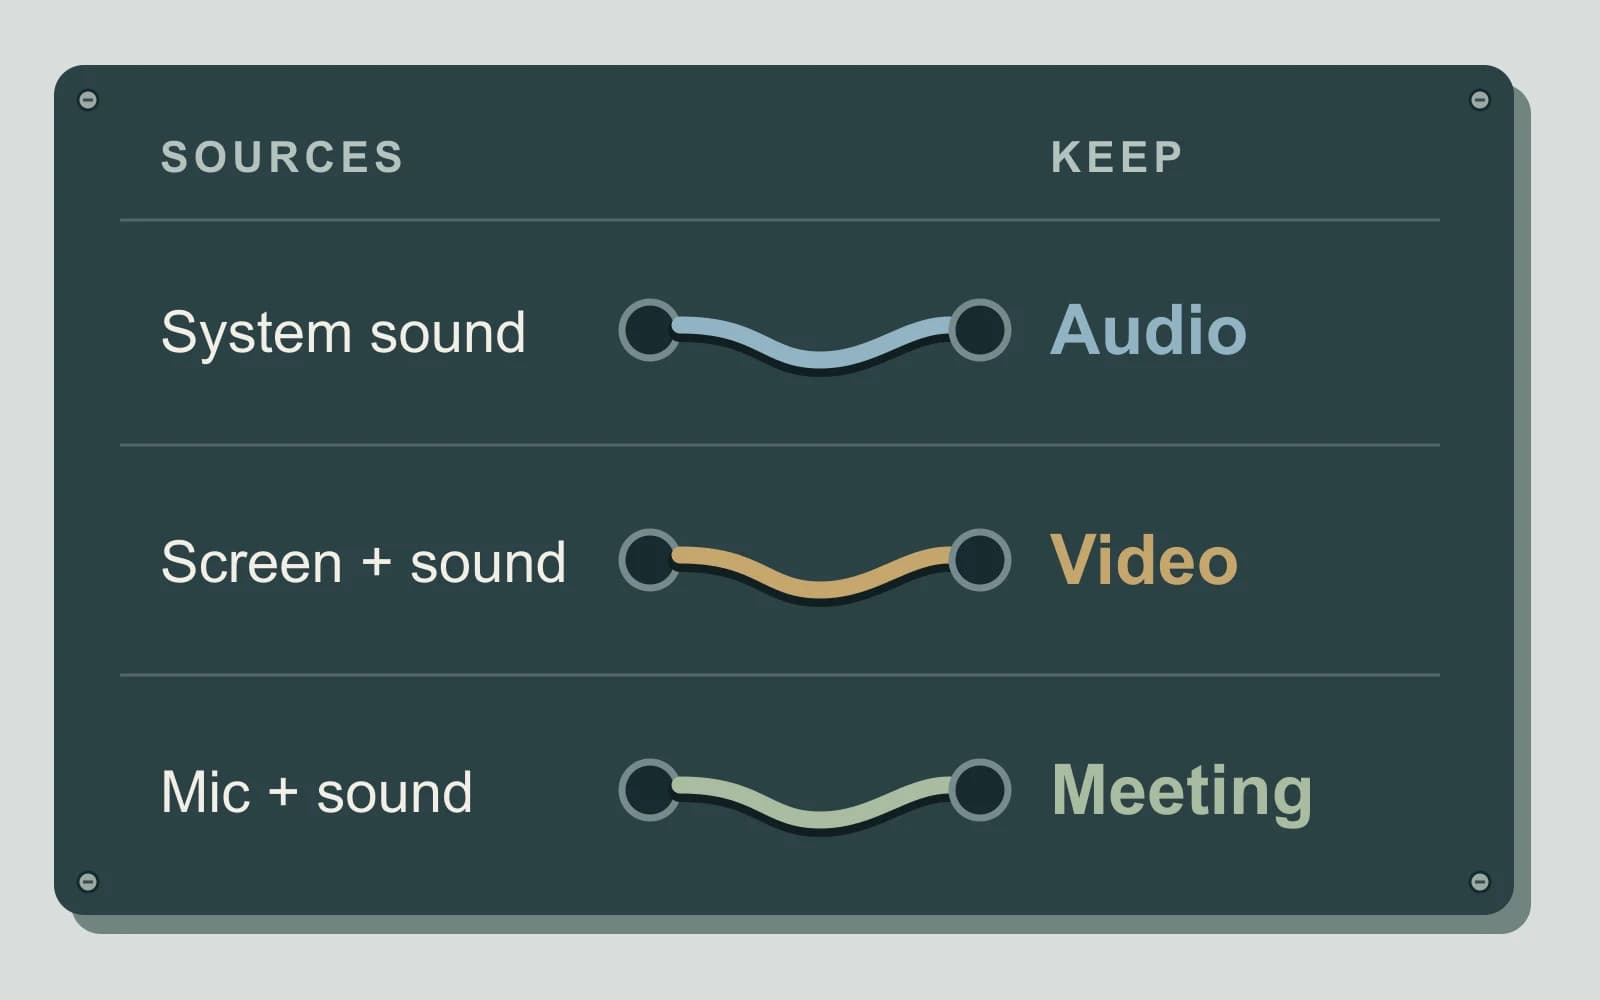
For recording system audio on Mac, choose the saved result first. On macOS 27 or later, Screenshot can include system sound in a screen movie. To keep an audio file, export that movie’s audio separately. For a call you want to replay and transcribe, use a route that captures both the microphone and system sound. Apple’s current screen-recording controls
System sound is the audio playing inside the Mac. Your microphone records an input such as your voice. Selecting that microphone does not establish a direct system-audio recording.
Disclosure: We sell the meeting app discussed below and are not affiliated with Apple or OBS. This guide uses primary documentation and released app sources.
Last checked: November 3, 2026.
Choose the output before the recorder
| What you need to keep | Sources required | Starting route |
|---|---|---|
| System sound as an audio file | System audio; microphone excluded | Capture the sound, then make the audio-only file. |
| A demonstration people can watch | Screen plus system audio; microphone if narrating | Screenshot on macOS 27+, or a documented screen-and-audio recorder. |
| Both sides of a call, with replay and text | Microphone plus system audio | Meeting capture with saved audio and transcription. |
The file extension answers only part of the question. An audio file exported from a movie still contains whichever sound sources were in that movie. Exporting cannot recover a participant or an application sound that was never captured.
If you need just one application’s sound, that is another source requirement. A selected screen region narrows the picture; it does not by itself establish an application-only audio selection.
Record screen video and sound with the native controls
Apple’s Screenshot guide starts with Shift + Command + 5. Choose the screen, window or region you need, then inspect Options before recording.
Apple’s newer screen-recording instructions document Include System Audio on macOS 27 Golden Gate or later. Use that control for sound playing inside the Mac. Choose a microphone separately when you also want narration; the microphone option is not the system-audio switch.
For system sound without your voice, set Microphone → None in Screenshot’s Options and use the supported system-audio control. Choose the save location, record, then stop from the menu bar. The saved result is a screen movie, not an audio-only file. Screenshot options and saved formats
QuickTime Player’s File → New Screen Recording can open these same Screenshot controls. When it does, follow the Screenshot route. The older QuickTime recording window’s microphone menu establishes microphone input; it is not evidence of built-in system-sound capture. QuickTime’s screen-recording route
The macOS 27 system-audio option should not be assumed on earlier macOS versions. Apple also notes that some apps can prevent their windows from being recorded. Check the actual saved picture and sound before relying on a longer recording.
Turn captured system sound into an audio file
For an audio-only deliverable, open the recorded movie in QuickTime Player and choose File → Export As → Audio Only. Name the new file, choose its destination and save. Apple documents this output as an MPEG-4 audio file with an AAC track. QuickTime audio-only export
This step changes the saved format, not the recording’s source mix. If the microphone was included, the exported audio includes that recording too. Listen to the exported file rather than assuming that an audio extension means system-only sound.
For OBS Studio 30 or later on macOS 13 or later, OBS documents a separate macOS Audio Capture Source. It can capture desktop audio or a chosen application. That is a useful starting point when you need an application-specific source or do not have Apple’s macOS 27 control. OBS desktop audio capture
Keep microphone sources muted when the intended output is system-only. The OBS mixer has a mute control for each source; check the source names and meters before recording. OBS Audio Mixer
OBS source selection and recording format are separate settings. Its recording guide describes the saved recording path and format, and File → Remux Recordings for making an MP4 copy. If your result is a movie that QuickTime can open, use the Audio Only export above for the final audio file. Selecting an audio source alone does not promise a direct audio-only export from OBS.
Capture a call with Meeting Mode
Choose Paraspeech Meeting Mode when the job is a conversation captured from microphone and system audio together, with replay and a transcript afterward. It is a different requirement from saving only an application’s soundtrack or making a screen video.
The route requires an eligible Apple Silicon Mac, a ready local speech model, speaker-model setup, Microphone permission and Screen Recording permission. Each meeting recording has a four-hour limit. The screen-recording permission is used for system audio; the app does not save screen video. Meeting setup documentation
Open Meetings in the main window, or choose Start Meeting from the recording indicator. Complete the required setup and choose Start Meeting. When the conversation ends, choose Stop Meeting.
After Stop, the app processes the recording into a transcript and automatically attempts a cloud-generated summary. The summary requires internet and sends transcript text for processing. Privacy Mode’s dictation controls do not govern the separate meeting archive or meeting summaries. Local speech setup therefore does not make the complete meeting workflow an offline or no-network promise. Meeting processing and privacy boundaries
For this microphone-plus-system workflow, download Paraspeech to prepare a replayable meeting on Mac, then check the model setup and both recording permissions before the call. Record a conversation only after the participants have agreed to it.
Find and copy the saved meeting files
In Paraspeech’s Meetings workspace, select the meeting and use the folder control whose help label is Reveal meeting files. The released app source opens that meeting’s directory in Finder.
In Mac 1.7.3, build 372, these files hold the playback and completed transcript:
| File inside the meeting folder | What it provides |
|---|---|
audio/playback.m4a | The combined playback audio. |
transcript/transcript.md | The written transcript after transcription completes. |
Copy the file you need to your chosen destination and open the copy there. This is a manual Finder copy workflow. It does not require an in-app export or format selector. The playback file is the combined meeting recording; the two paths above do not establish a separate-track editing workflow.
The file paths come from the released source. The public documentation covers the meeting workspace and replay.
Check the sources in the saved result
Before a workshop you have permission to record, make a short sample using the sources you plan to capture. Play a short sample from the presentation, speak a distinct introduction, then stop and replay the saved result.
| Intended result | What the replay should establish |
|---|---|
| System-only audio | The presentation is audible and your microphone introduction is absent. |
| Narrated screen video | The required picture is visible, the presentation sound is audible and your introduction is present. |
| Meeting record | The local voice and the other side of the conversation are audible in the combined playback. |
For the audio-only route, repeat the check on the exported audio file. For the meeting route, open the copied playback file and check the transcript separately once processing finishes. Moving a file or producing text does not establish that all required voices were recorded.
If the audio source is missing, correct source selection and permissions before another long capture. Apple distinguishes microphone access from Screen & System Audio Recording access. A successful microphone recording does not prove that system audio was captured.
If the audio already exists and you only need its words, use the saved Zoom recording transcription guide. For a conversation around a physical table, the in-person meeting guide covers the separate problem of hearing people across the room.