To transcribe a Zoom recording, first check whether the host already has a cloud transcript. If one is available, review that text before generating another copy. If you have only a saved audio or video file, use a file-transcription workflow. Zoom recording transcription depends on where the recording was made: the cloud audio-transcript setting does not apply to recordings saved on a computer. Zoom’s transcription requirements
Last checked: September 14, 2026.
Start with the recording you can access
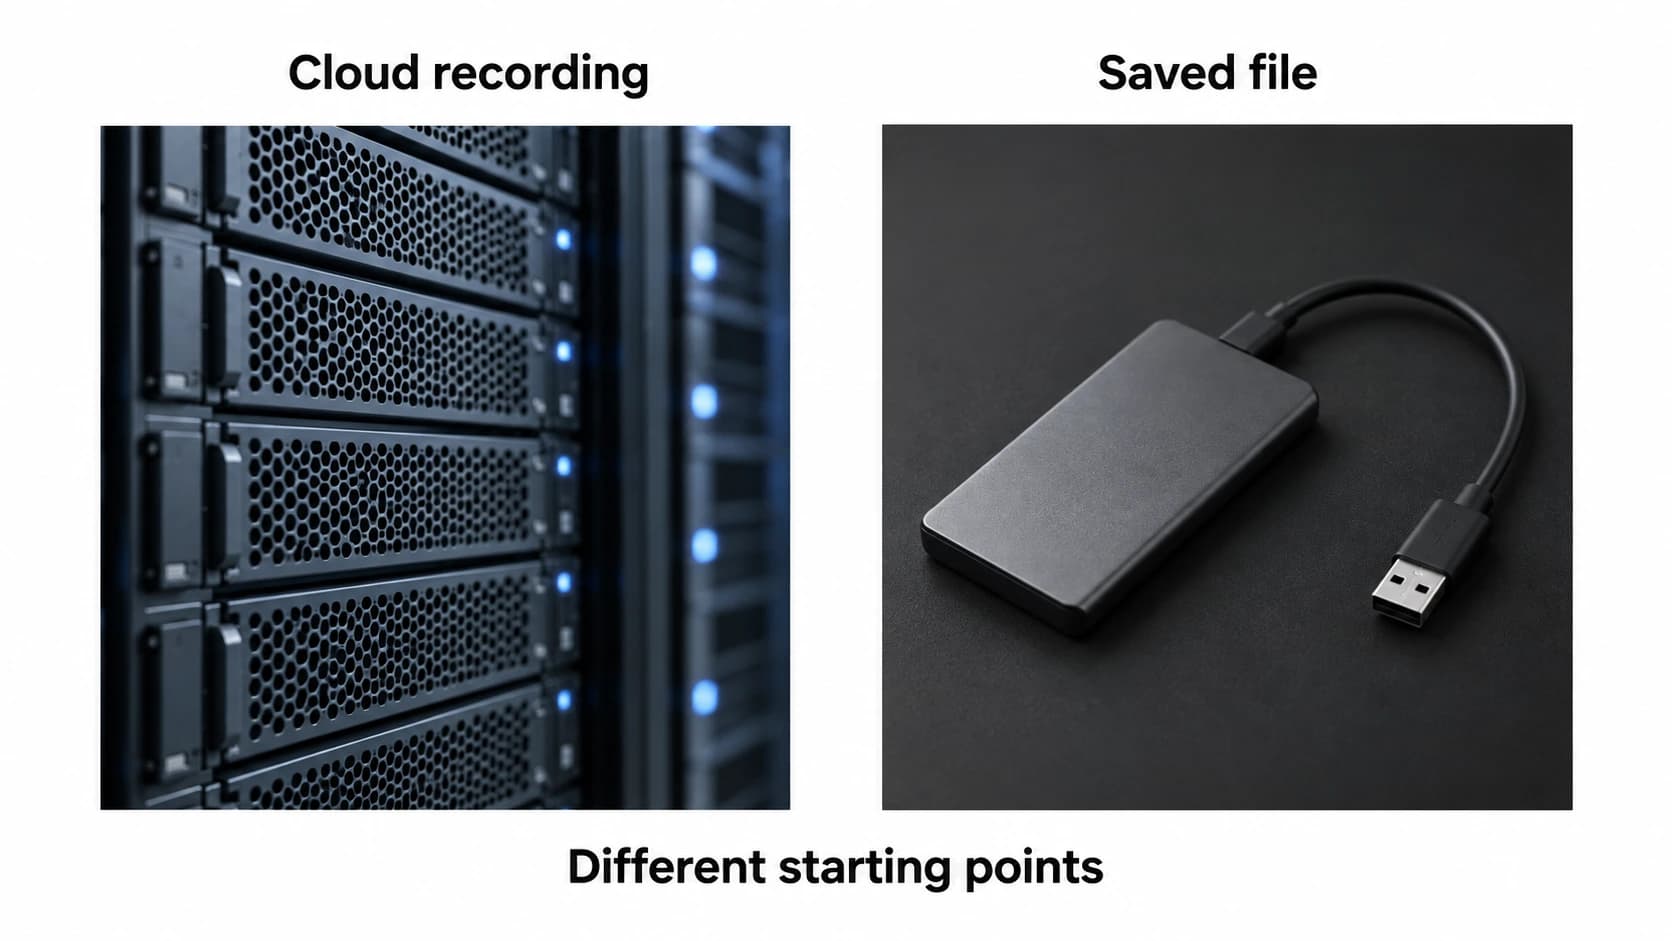
A shared playback link and a file on your computer are different starting points:
- You have the host’s cloud recording: look for an audio transcript before downloading media.
- You have a shared link with no transcript: ask the host whether a transcript exists and whether you can view it. A missing panel alone does not tell you whether transcription failed.
- You have a saved recording: identify the audio or video file, then process it with a compatible transcription tool.
Zoom has separate sharing controls for transcript visibility and video downloads. A link that lets you watch a meeting may not let you download it. If you need the file, ask the host for an authorized copy or the appropriate access. Zoom’s recording-sharing controls
Get the Zoom transcript after the meeting
The portal and pencil-edit steps below require the recording owner or an authorized manager with editing permission. Zoom says users need permission from their account owner or administrator to edit cloud recordings. A shared playback link does not grant that permission or put the meeting in your own cloud-recording list. Zoom’s recording-management permissions
If you only have a shared link, view the transcript if the host has shared it. When editing controls are unavailable, ask the host or authorized manager to correct the transcript or provide an authorized copy.
For your own recording, open Recordings & Transcripts → Cloud recordings in the Zoom web portal and select the meeting. An authorized manager should use the recording-management access granted to them. Open the recording thumbnail to see playback alongside the transcript.
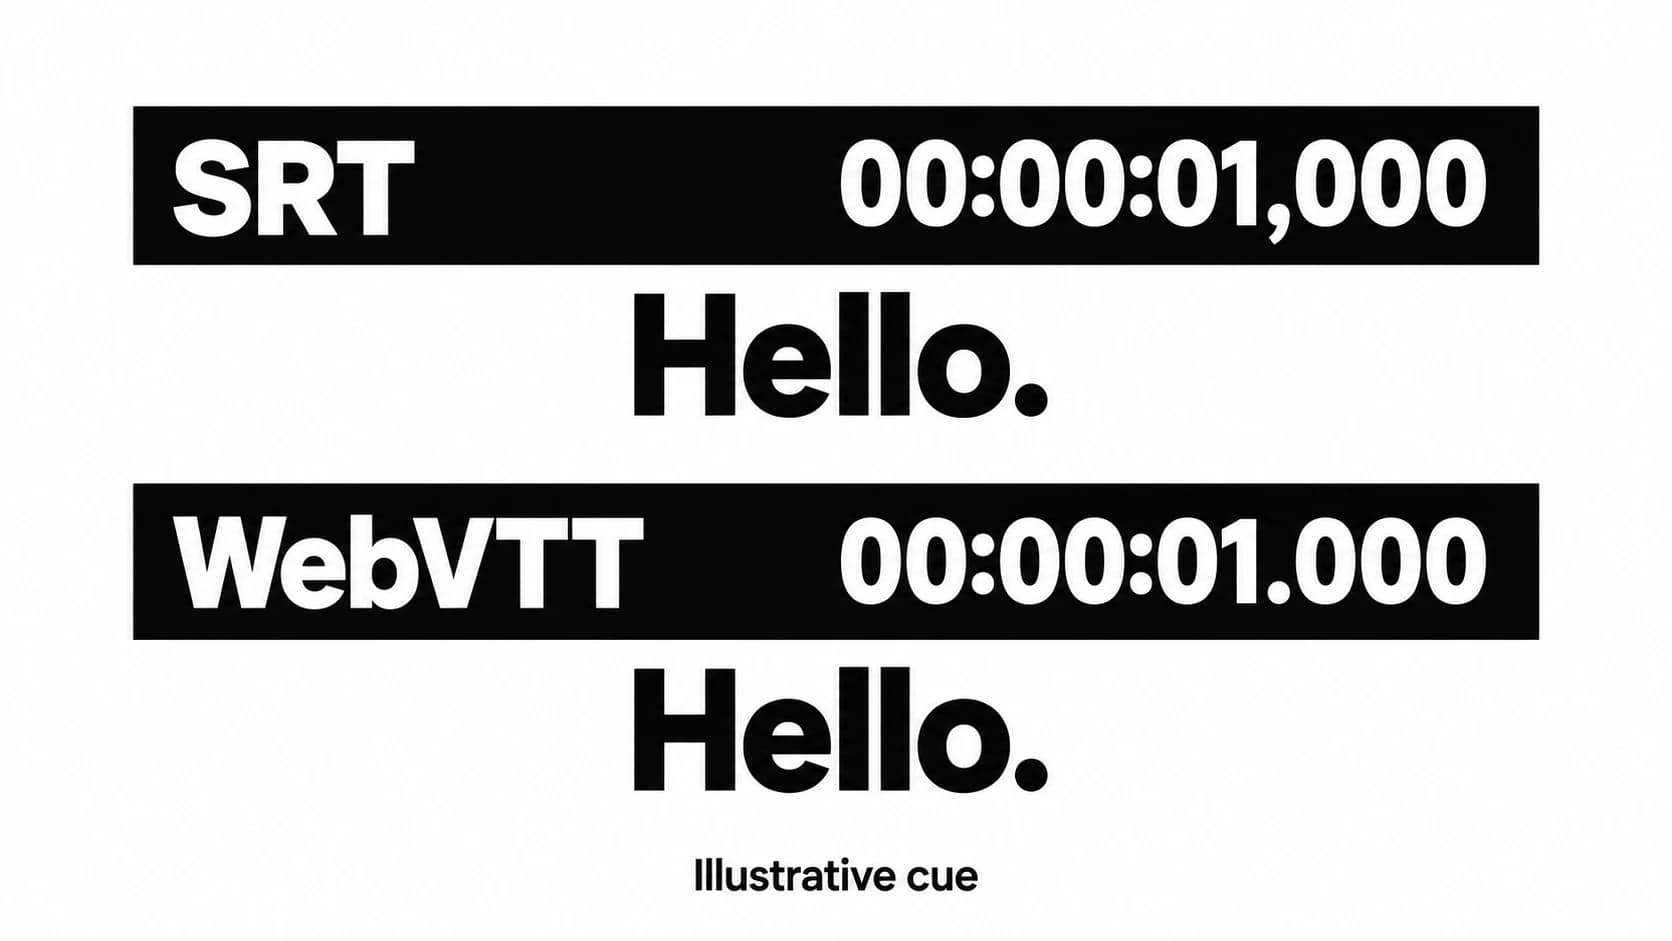
To correct a phrase, hover over it, choose the pencil icon, edit the text, and use the checkmark to save. You can also edit an unknown speaker’s name. The transcript is a separate VTT file with timed text. Recording playback can become available before transcript processing finishes, so a newly completed video does not mean the text is ready. Zoom’s cloud-transcript instructions
Keep the audio open while correcting names, numbers and decisions. In an illustrative example, “we can’t approve it” becomes “we can approve it.” The sentence reads smoothly but reverses the decision, so proofreading without listening would miss the problem.
Download the Zoom transcript with the recording
To save the recording files, open the recording’s page, choose Download, and confirm. Keep the available VTT transcript alongside the media. Avoid the recording-list Export action when you want spoken text: that produces a CSV report of recording details. Zoom’s download and export instructions
If there is no cloud transcript
You can still transcribe a meeting after it was recorded, but not by switching on the cloud setting later. First separate a processing delay from a settings problem. If the recording is recent, let transcript processing finish. If you are a viewer, have the host check the recording itself rather than diagnosing it from the shared page.
For cloud transcription, Zoom lists a Pro, Business, Education or Enterprise account with cloud recording enabled. For your own future recordings, open the web portal’s Settings → Recording, find the cloud-recording settings, enable Create audio transcript, and save. A locked setting needs the account or group administrator. Zoom’s setup requirements
The setup instructions do not establish that enabling the setting will recover a transcript for every older meeting. If the old recording has no usable transcript, obtain its media file and take the saved-file route below.
Choose the right saved file
For a computer recording, start on the device that recorded the meeting, or ask its owner to share the file. In the desktop app, open Hub → Recordings & Transcripts → Computer recordings. Use the recording’s menu and choose View file location. Zoom’s computer-recording guidance
Zoom’s M4A files contain audio; MP4 files contain audio and video. Its TXT chat export contains typed messages, not a transcript of what people said. An M3U is a playlist, not the audio itself. Zoom’s recording-file formats
Play the candidate file before importing it. Check that it contains the conversation you need, including the beginning and end. If both the M4A and MP4 contain the same complete conversation, choose whichever format your transcription tool accepts. Do not rename an extension to make an unsupported file look compatible; use a supported conversion or audio-extraction workflow and retain the original.
An illustrative example: a folder contains an MP4, an M4A and chat.txt. The M4A plays the full meeting, while the text file contains only links and greetings. Start with the M4A if your tool supports it; the chat file can help you spell a shared project name, but it cannot supply the spoken discussion.
Transcribing a saved file on a Mac
Use a transcription app that accepts your recording’s format and spoken language. For file preparation and import prerequisites, see the audio-file transcription guide.
Paraspeech is one option for a supported file on an Apple Silicon Mac running macOS 14 or later. Its Mac file speech transcription requires a downloaded offline model. Any subsequent AI rewrite is a separate processing step; Transcription Only skips that rewrite. Check the file-transcription documentation before importing. This is a saved-file workflow, not a connection to your Zoom account.
Check the transcript against the recording
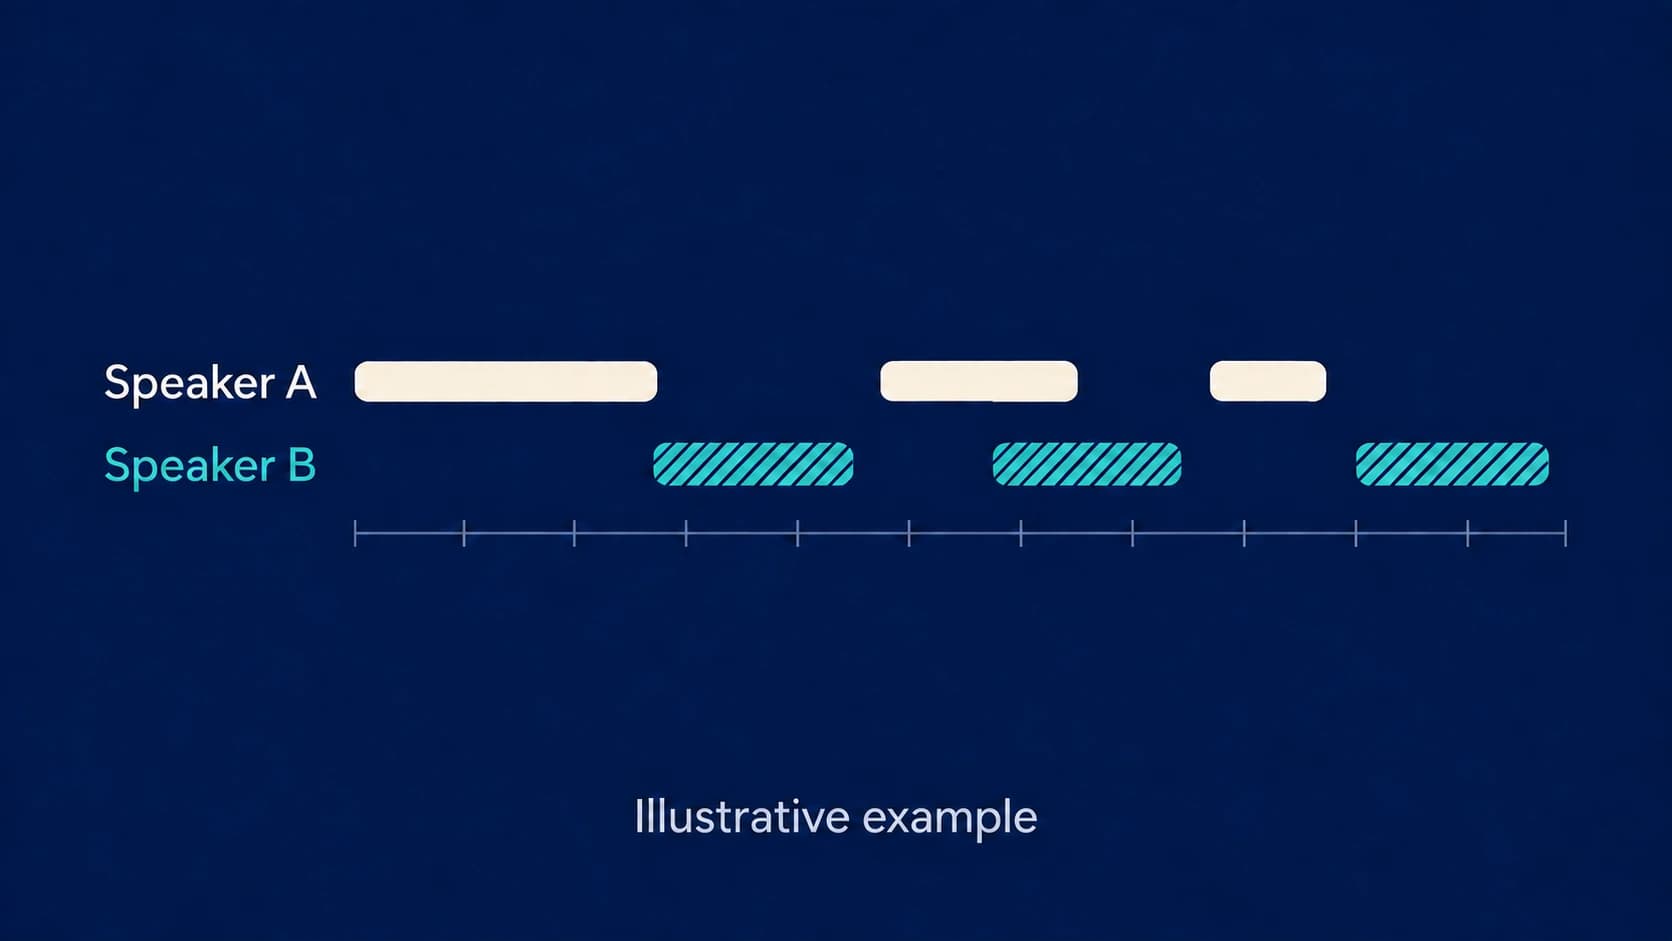
Keep the recording’s date and filename with your reviewed text so you can find the source again. Work through the passage you intend to quote or share while listening, especially where two people talk at once. Leave uncertain words marked rather than filling in a plausible sentence.
If you need captions, keep the timed file as well as any readable text copy. Check several cues against the actual video, including a point near the end; a readable transcript alone does not establish that captions line up. If you only need meeting notes, keep your summary separate from the corrected transcript so later readers can distinguish what was said from your interpretation.