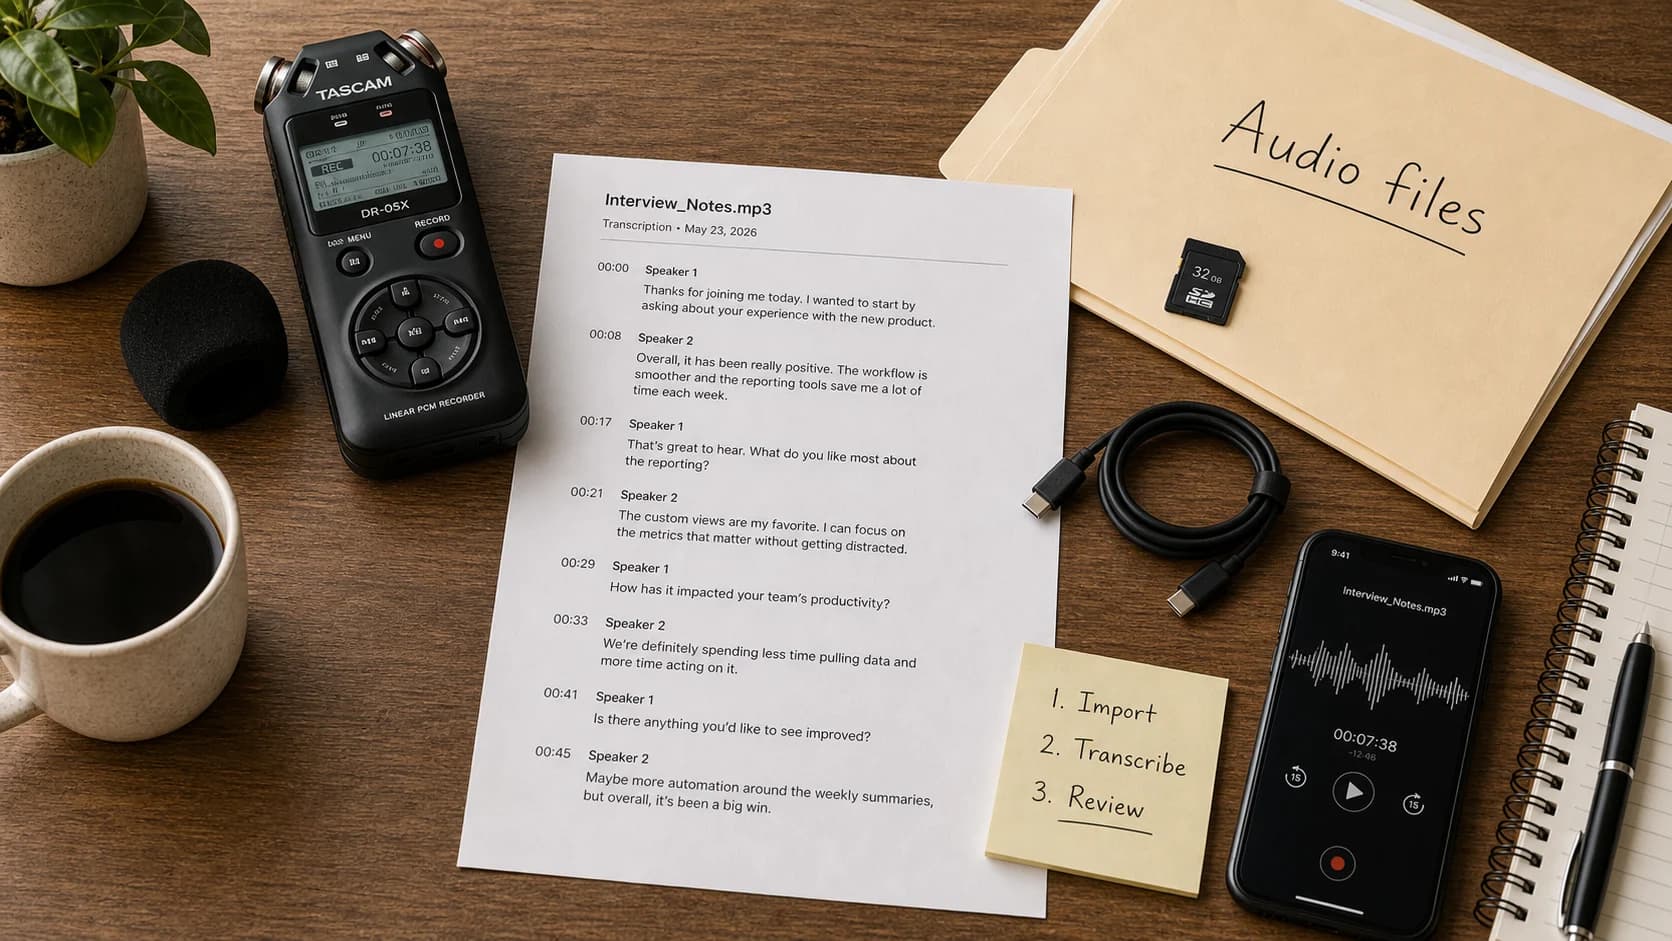
Apple Notes transcription starts with a recording made inside a note. Choose Record Audio from the attachment control, record your audio, then open the recording and its transcript. Use Add Transcript to Note to put the words in the note body, or Copy Transcript to paste them elsewhere. Transcription depends on your device and language; an Apple Intelligence summary is a separate feature.
If you already see an audio recording but no text underneath it, open the recording first. The transcript may exist inside its details without having been added to the note body.
Last checked: September 28, 2026. These instructions follow Apple's linked guides, whose default version selectors identify macOS 27 and iOS 27. Select the version matching your device when checking controls; the selector alone does not establish release availability. This is a documentation-based guide, not a report of hands-on testing.
Record and open the transcript on Mac
Use this path when you want to keep a new recording alongside your written notes, checklist, or reference documents.
- Open a note in Notes. Click the attachment control in the toolbar, then Record Audio.
- Click the recording button to start. Use the stop/pause control to interrupt recording and the recording control to resume. You can edit the note while recording.
- Open the transcript control to see recognized words as you speak. When finished, stop the recording and close the recording view.
- To return to the transcript, double-click the audio recording in the note, then click the transcript control.
Apple documents these controls in Record and transcribe audio in Notes on Mac. Recording audio creates something you can play back. Dictating directly into the note's text field is a different task: it enters text where you are writing rather than following this recording-and-transcript workflow.
The Mac guide specifies M1 or later for audio transcription. Its listed device languages are English, Spanish, Portuguese, Italian, French, German, Japanese, Korean, Simplified Chinese, and Traditional Chinese. For English, it names Australia, Canada, New Zealand, South Africa, the UK, and the United States. Availability also varies by language and region; use the guide's current list for your setup.
The same guide says all the described Notes features are available with iCloud notes, while some are unavailable with accounts from other providers. If a control is missing in a work or third-party account, identify the account containing that note before assuming your Mac cannot transcribe.
Record and open the transcript on iPhone
In a note, tap the attachment control, choose Record Audio, then tap the recording button. You can pause and resume; swipe down from the top of the recording screen if you want to take written notes while recording. Tap the transcript control to see the live transcript, then stop and finish the recording when you are done.
For a saved recording, tap the recording in the note, then open the transcript control. Tapping a passage in the transcript plays the audio from that point. These are the paths in Apple's iPhone Notes recording guide.
That guide specifies iPhone 12 or later and a device language set to English, Spanish, Portuguese, Italian, French, German, Japanese, Korean, Simplified Chinese, or Traditional Chinese. Apple says a missing transcript control can mean that the iPhone does not meet the requirements or has not detected a supported language. Recording audio successfully does not, by itself, prove transcription is available.
Put the transcript where you need it
Open the recording's transcript, then its More menu. On both platforms, Apple's guides distinguish two actions:
- Add Transcript to Note puts the transcript into the note body. Choose it when the spoken material should sit beside your other notes.
- Copy Transcript copies the text for pasting into another document, message, or selected location.
You can also use Find in Transcript from the transcript's menu to locate a word before listening back. On Mac, click the matching text to play that passage; on iPhone, tap it. Apple's Mac guide and iPhone guide document search, playback, and copying separately.
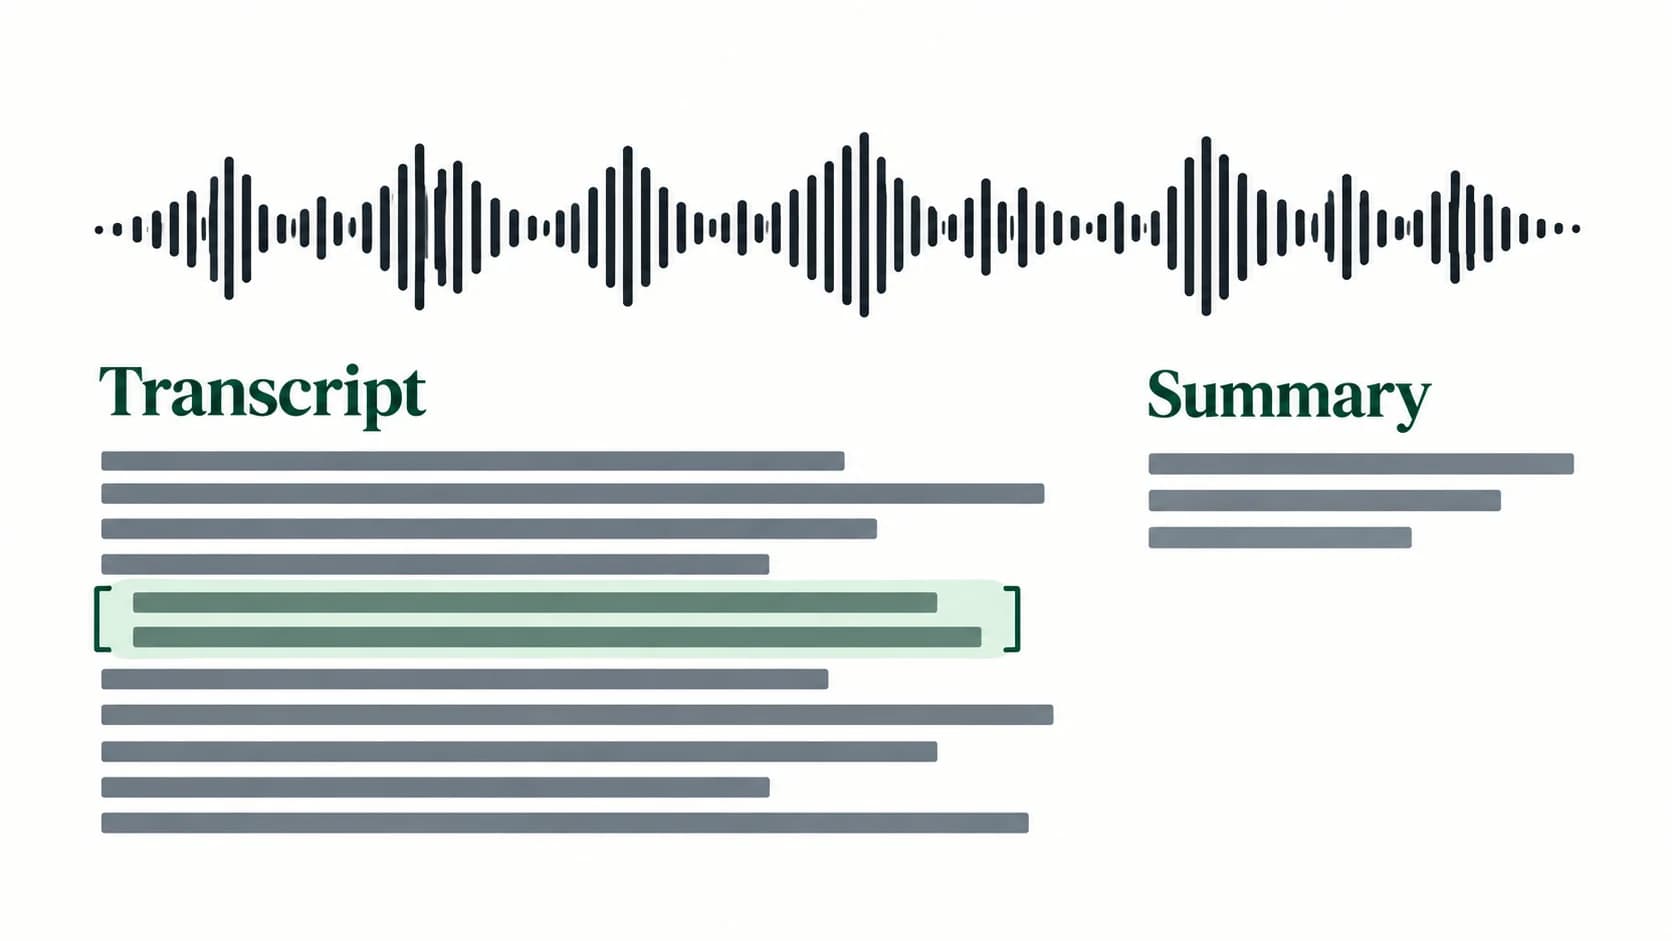
Summary has a different purpose: Apple Intelligence generates a shorter account of the transcript's main points. It has its own device, language, and region requirements. A device can qualify for transcription without qualifying for every summary feature. Use the transcript and source audio for exact wording; use a summary to get the gist.
If the transcript works and you want the recording and related material together, stay in Notes. Copying it through another app would add a handoff without improving that task.
Why is the Apple Notes transcript missing?
Start with what you can actually see, rather than reinstalling an app or repeatedly changing language settings.
| What you see | What to check | What that tells you |
|---|---|---|
| A recording plays, but there is no transcript control | Compare the device and language with Apple's Mac or iPhone requirements above. Check the guide for your OS version. | Audio capture and transcription have different requirements. A recording alone does not prove eligibility. |
| The device meets the hardware requirement, but no transcript appears | Check whether the spoken language is supported and detected, as well as the device language. | Apple identifies unsupported or undetected language as a possible cause. Changing a setting is not a guaranteed repair for an existing recording. |
| Recording or transcript controls differ between notes | Check which account contains each note. | Apple's Mac guide distinguishes iCloud notes from accounts whose features may be limited. |
| An audio file was attached from another app | Establish whether it was recorded inside Notes or merely added as an attachment. | The cited guides document in-Notes recording, not automatic transcription of arbitrary imported audio. |
| Text appears inside the recording, but not in the note body | Use Add Transcript to Note, or copy and paste the transcript. | The transcript exists; its destination is the issue. |
| The transcript exists, but Summary is unavailable | Check Apple Intelligence eligibility separately. | Missing summary access does not mean the transcript failed. |
These checks follow the limitations in Apple's Mac guide and iPhone guide. Neither guide establishes that attaching any saved audio file will create a transcript.
If your recording is still in Voice Memos, use the Voice Memos transcription guide for that app's path instead of treating it as a Notes recording.
Check a name, a number, and a doubtful phrase before quoting
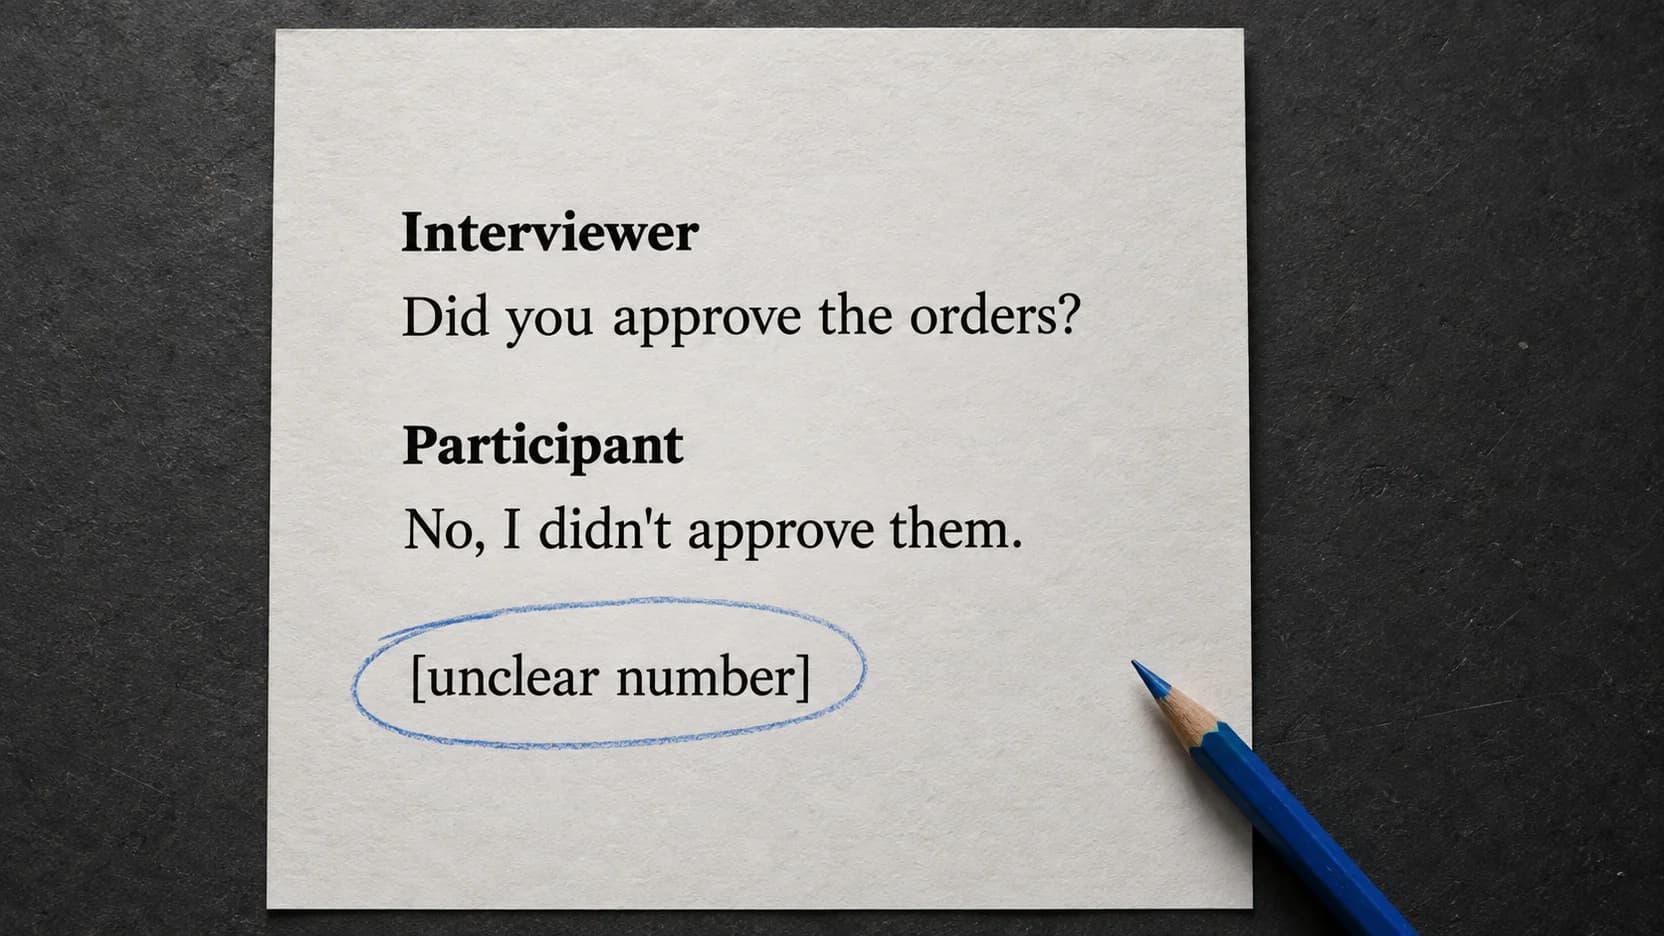
Here is a synthetic instructional example, not captured recognition output. Imagine a note called “Studio booking” with this draft passage:
Maya Chen asked for 16 seats, with delivery by Friday [or: delivery before Friday?].
Search the transcript for Maya, then click or tap the result to replay that passage. Check the spelling against your own reference for the person's name. Next, find 16 and listen to whether the speaker said “sixteen” or “sixty.” Finally, replay the deadline phrase in context. “By Friday” and “before Friday” can lead to different arrangements.
Once you have checked the words, copy the transcript into the note body or your destination document and correct that editable text. If the deadline remains unclear, mark it as unclear rather than turning it into a confident quotation. A generated summary cannot settle what the recording actually says.
Keep the recording while you need to verify it: Apple says deleting the recording also deletes its associated transcript. That matters even if you have already pasted a separate copy of the text into a note. Source: Apple Notes guide.
When you need a separate Mac transcription workflow
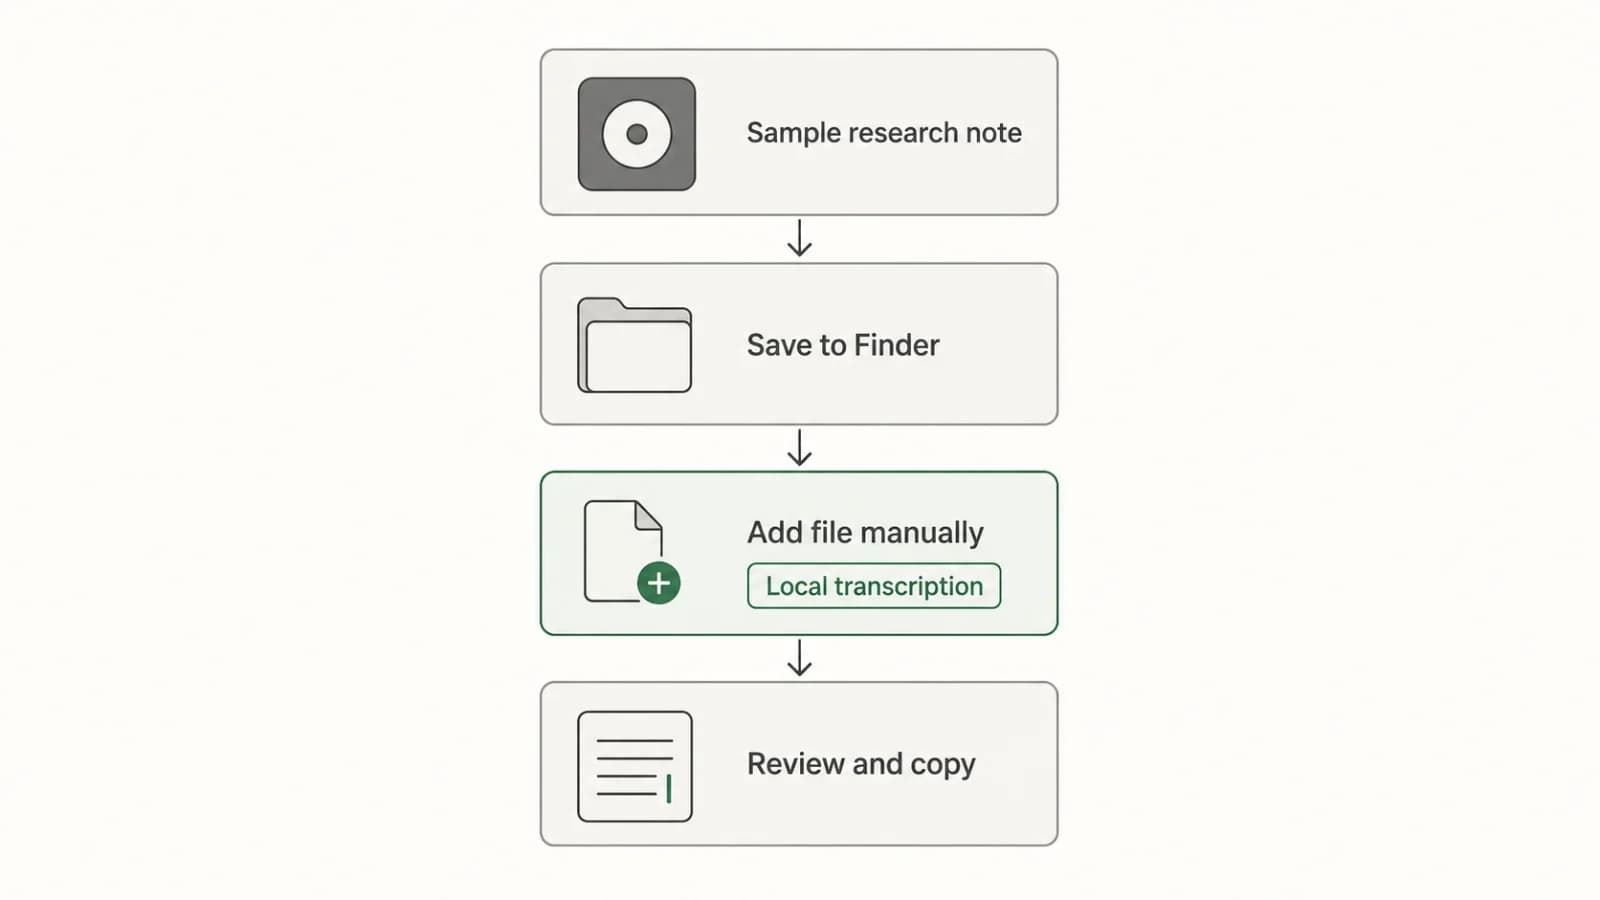
An existing permitted recording may need its own file-transcription workflow when Notes has not supplied a usable transcript. On Mac, Apple documents Control-click the recording → Save Attachment to save the audio. For a file made elsewhere, start with that original file. The audio-file transcription guide covers choosing a route without assuming Notes will transcribe an attachment.
Paraspeech is one optional Mac route: add the local recording to its file-transcription workspace after installing a supported offline model, review the resulting text, then copy it into your destination. Its approved Mac file workflow requires a downloaded offline model; downstream rewriting is a separate processing choice. See the product documentation for setup. This is a manual file handoff, not an Apple Notes integration, and it does not change Notes' device or language eligibility.
Use it when you want that separate workspace. If Notes already gives you a usable transcript alongside the relevant note, there is no need to move the job.
This is an independent guide. Apple is named only to identify the products discussed. Paraspeech is not affiliated with, sponsored by, or endorsed by Apple. Details can change; check the linked official documentation.