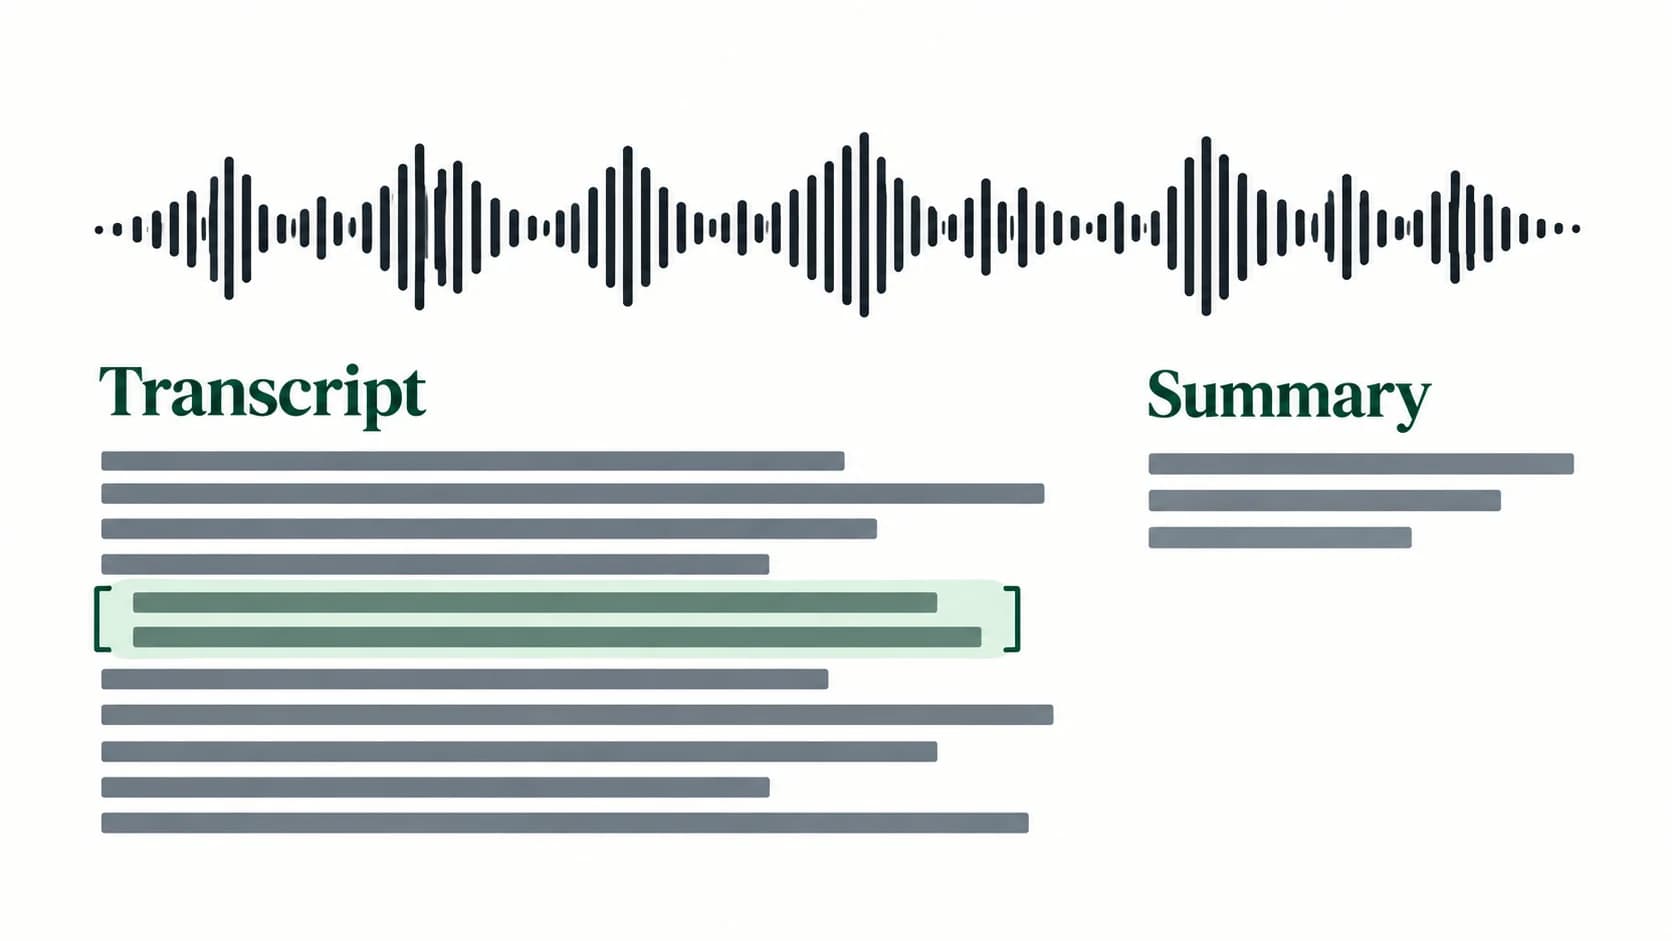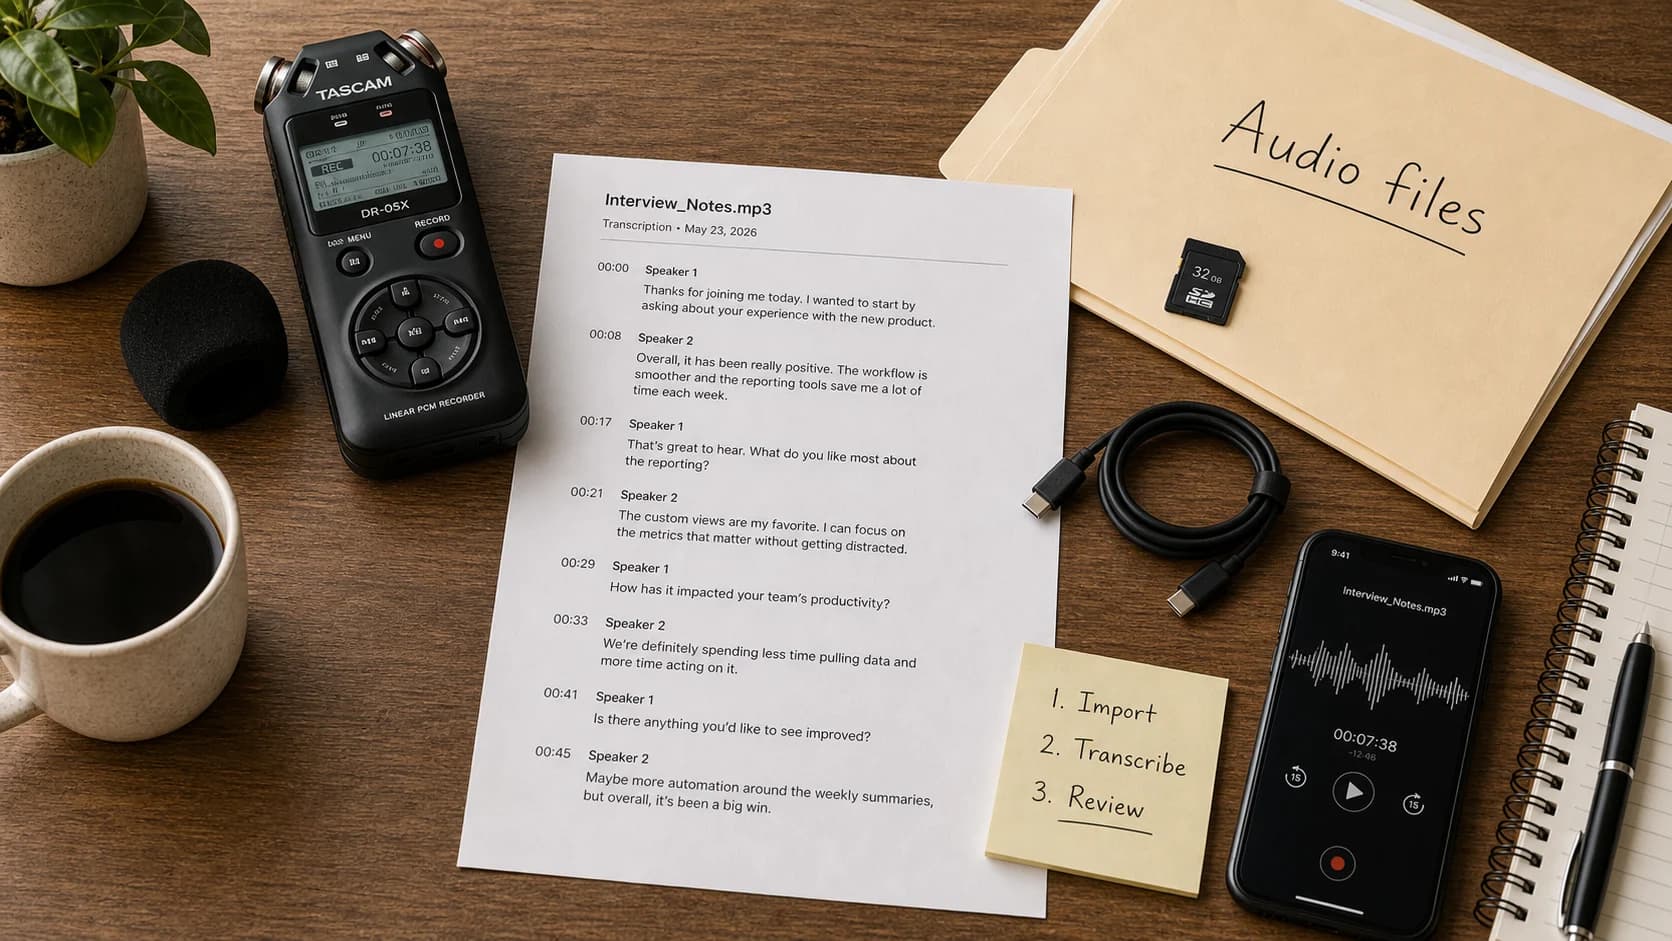
Transcribing Apple Voice Memos recordings on Mac should start inside Voice Memos: open the recording and check whether Apple already shows a transcript. On a supported Mac, that may be the shortest route to editable text. If you need a separate local file-transcription workflow, drag the recording from Voice Memos to Finder, add that local file to Paraspeech, confirm an offline model is downloaded, review the draft, then copy the text or export VTT.
This guide uses a manual handoff. It does not describe a direct Voice Memos integration, library sync, or cloud file upload.
Quick answer: choose the shortest working path
Apple's current Voice Memos guide for Mac says Voice Memos transcription requires a Mac with Apple silicon and macOS 15 or later, and it is not available in all countries or regions. Open the recording and select the Transcription button. If the text appears, select what you need, copy it, and paste it into your document.
Use a separate file-transcription app when that native transcript is unavailable for your setup or when you want the recording in a dedicated local file workflow. With Paraspeech, Mac file transcription is local-only and requires a downloaded offline model. The recording must first be available as a local file on the Mac.
| What you see | What to do next | Why |
|---|---|---|
| Voice Memos shows a usable transcript | Copy the text into your editor and review it against the audio | This is the shortest path; no file handoff is needed |
| The recording is in Voice Memos, but you want a separate local transcript | Save the recording to Finder, then add the file to Paraspeech | This creates an explicit manual boundary between the Apple app and Paraspeech |
| The recording is still on your iPhone | Make it available in Voice Memos on the Mac or share it to the Mac, then save a local copy | Paraspeech needs a local file; it does not fetch recordings from your Voice Memos library |
Get the Voice Memos recording onto your Mac
If the recording was made on the Mac, select it in Voice Memos and drag it to a Finder window. Apple documents this in Share a recording on Mac. Save the file in a folder you can find again and play it once before transcription.
For an iPhone recording, there are two Apple-owned transfer paths:
- If you use Voice Memos with iCloud on the same Apple Account, check the Voice Memos app on the Mac. Apple's device access guide explains the required iCloud setting.
- Otherwise, select the recording on the iPhone, choose Share, and send it to the Mac with an available sharing option such as AirDrop. Apple documents the steps in Share a recording in Voice Memos on iPhone.
Once the recording appears in Voice Memos on the Mac, drag it into Finder. That saved file is the input for the separate Paraspeech workflow. Seeing the recording in both apps does not mean the apps are integrated.
Transcribe the saved voice memo locally with Paraspeech
Open Paraspeech's file-transcription workspace and confirm that a local/offline model is installed before adding the recording. The initial model download needs an internet connection. After setup, this Mac file-transcription path uses the downloaded local model; it is separate from Paraspeech's cloud-backed modes.
Add the saved recording from Finder. Paraspeech also supports dropping a local file into its file workspace. If the model is missing, finish the model download before trying the file again. If Finder shows only a cloud-hosted reference, download the recording to the Mac first.
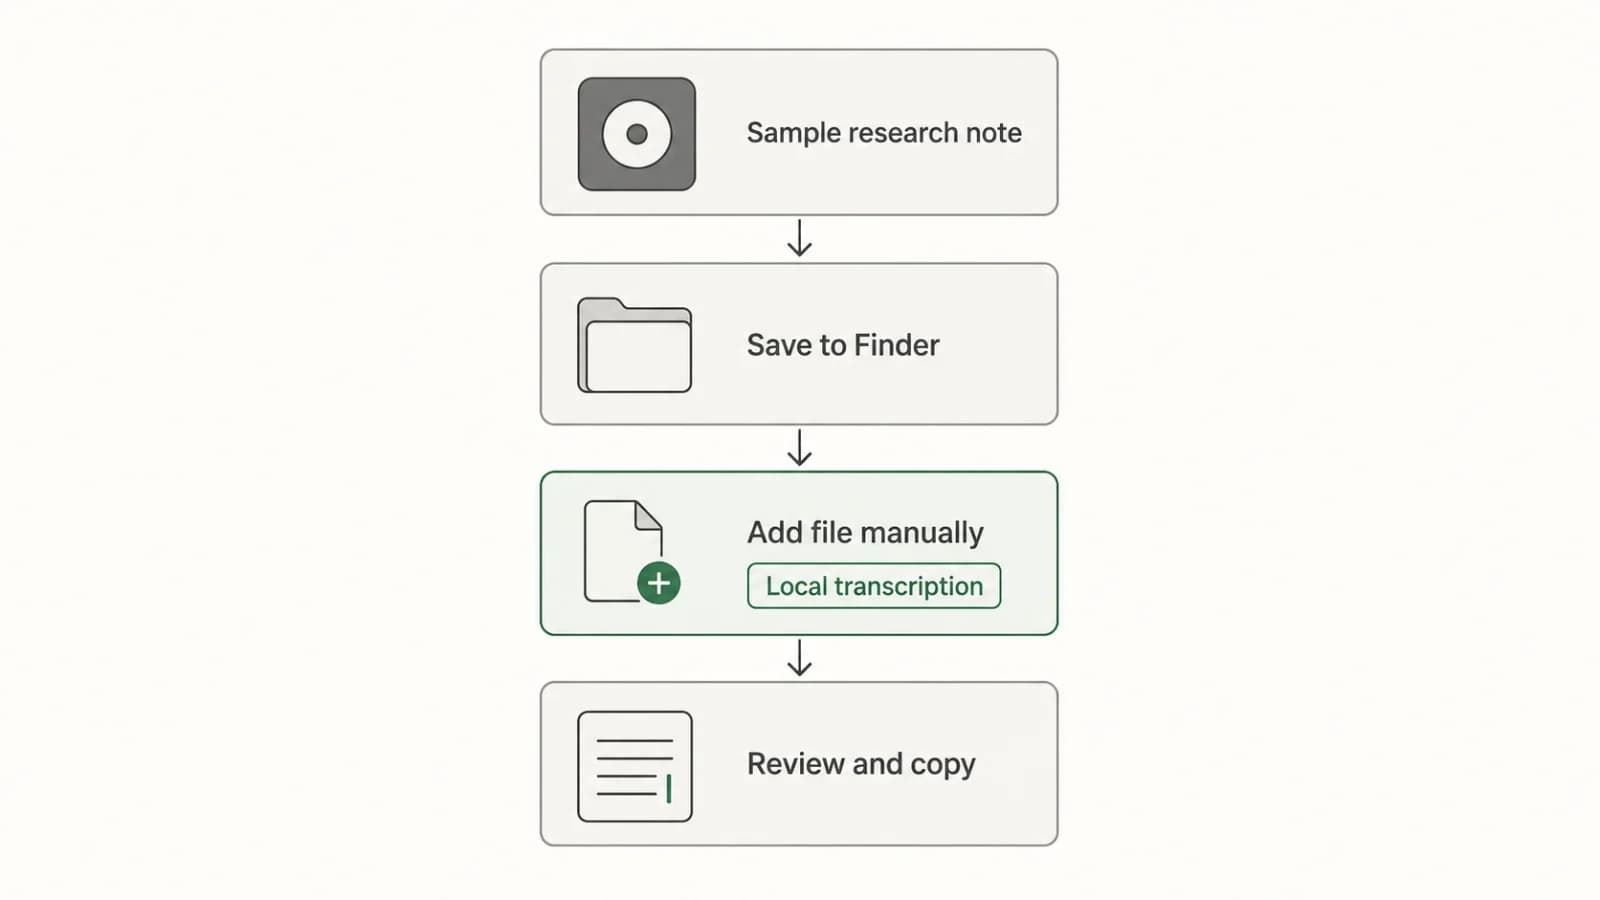
This is the full handoff, using a fabricated recording name:
Voice Memos: “Sample research note”
        │ Save or share the recording
        ▼
Finder: local recording file
        │ Add the file manually
        ▼
Paraspeech: downloaded local model
        │ Local file transcription
        ▼
Reviewed text: copy for editing or export VTT
The sequence matters. Voice Memos owns the recording and Apple transfer step. Finder holds the local file. Paraspeech transcribes that file with the installed model. You remain responsible for checking and using the resulting text.
For a broader explanation of local, cloud, meeting, and manual file workflows, read how to transcribe an audio file on Mac. For the local processing boundary and setup caveat, see offline speech to text for Mac.
Review the transcript before you edit or share it
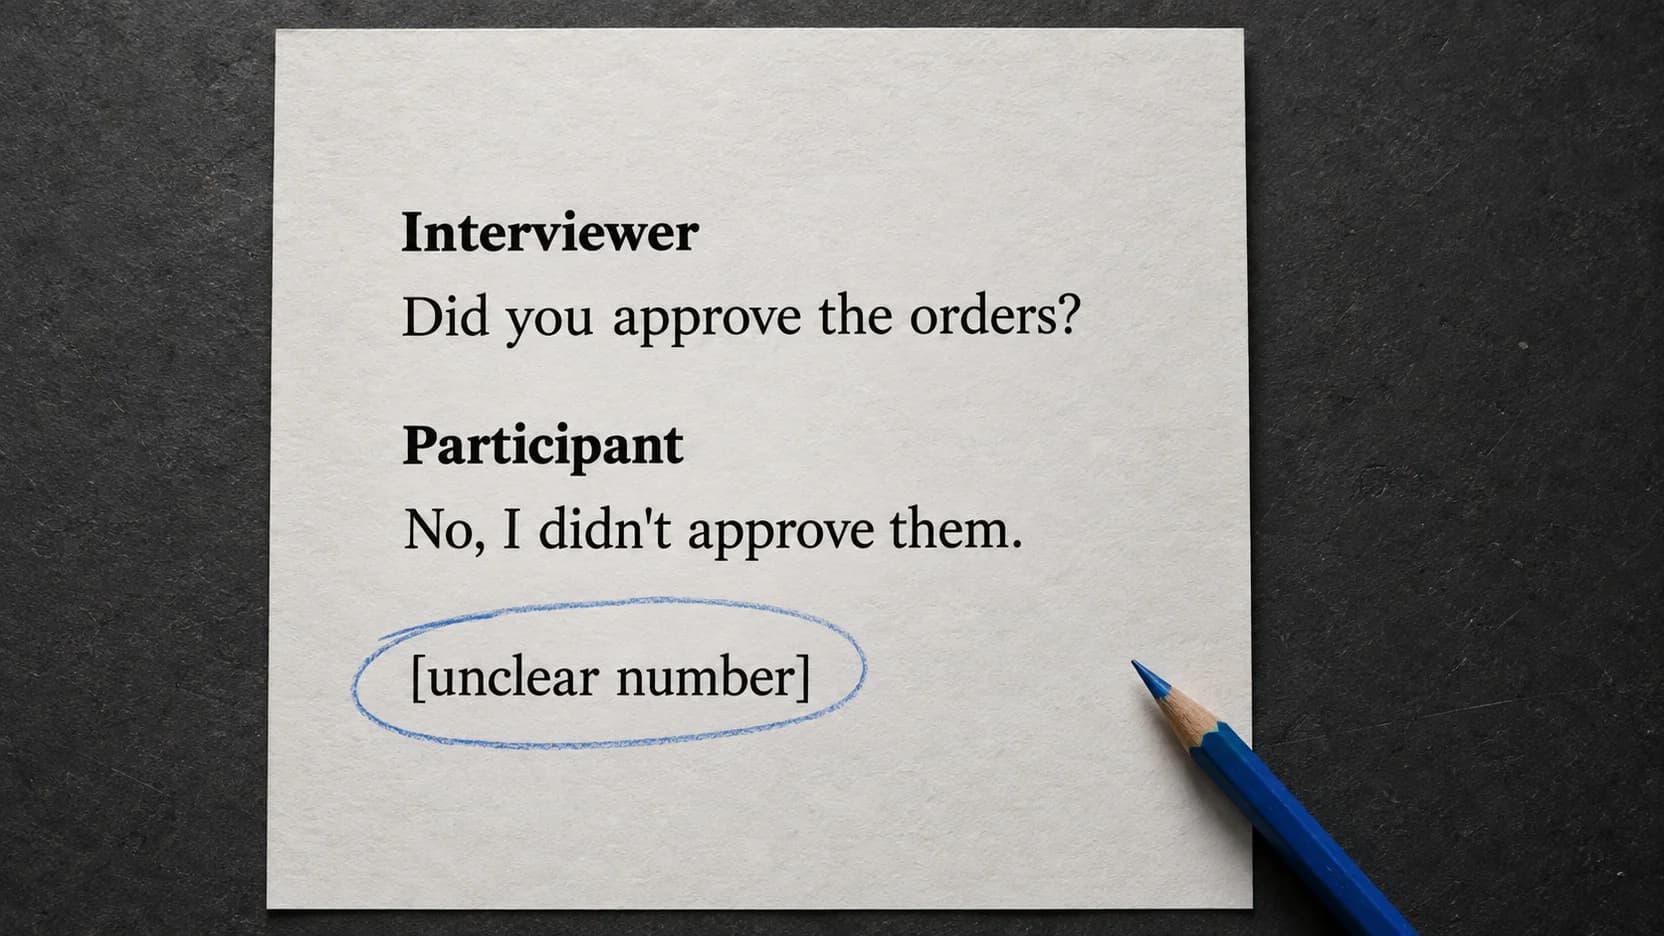
Treat the transcript as a draft. Play the recording beside the text and correct details that matter: names, numbers, quotations, technical terms, and places where people speak over each other. If a sentence changes the meaning of what was said, replay that section rather than guessing.
The destination determines the final action:
| Destination | Finish the workflow this way |
|---|---|
| Notes, Pages, Word, email, or another editor | Copy the transcript from Paraspeech, paste it into the destination, then edit there |
| Subtitle or timestamp workflow | Export the supported VTT file and review its timing with the media |
| Important quotation | Verify the wording against the recording before publishing or sending it |
This guide does not promise an instant result. Processing and review depend on the recording and your Mac; the product truth here is the local file path, not a speed or accuracy benchmark.
Saved recording versus live dictation
A voice memo already exists. The job is to move a saved recording into text. Live dictation starts with you speaking now and puts new text where you are writing.
Use saved-file transcription when you have an interview, lecture note, field note, or personal recording that you need to review after the fact. Use live dictation when you want to compose a new email, note, or document by speaking. Replaying a recording into a live-dictation microphone path adds an unnecessary audio step and makes the workflow harder to review.
If you came here to create new text with your voice rather than transcribe an existing recording, start with the Mac speech-to-text guide.
If the handoff breaks
The recording appears on the iPhone but not the Mac
Check Apple's Voice Memos iCloud setting on both devices, or share the individual recording to the Mac. This is an Apple device-transfer issue, not a Paraspeech sync setting.
Paraspeech asks for a local model
File transcription on Mac requires a downloaded offline model. Connect to the internet for the initial download, confirm the model is available, then add the recording again.
The file is visible but will not process
Open the file in QuickTime Player or another Mac audio player first. If it does not play, recover or export a fresh copy from Voice Memos. If it plays but still fails in the transcription workspace, keep the original recording unchanged and retry with a separate local copy. This article does not promise support for every container, codec, layered recording, or damaged file.
FAQ
Can I turn an iPhone voice memo into text on my Mac?
Yes. First check whether the recording appears in Voice Memos on the Mac through your Apple settings; otherwise share it from the iPhone to the Mac. If Apple's built-in transcript is available, copy that text. For the separate Paraspeech path, save the recording as a local file, add it manually, and use a downloaded offline model.
Does Paraspeech import directly from Voice Memos?
No direct integration is claimed. Save or share the recording through Apple's tools, place the file on the Mac, then add that local file to Paraspeech.
Does Paraspeech upload the voice memo for cloud transcription?
No. Paraspeech's Mac file-transcription workflow is local-only and requires a downloaded offline model. Cloud-backed Paraspeech features are separate from this file workflow.
Can I edit the transcript?
Copy the transcript and paste it into the editor where you want to work. Paraspeech can also export VTT for a subtitle-style workflow. Review the text against the recording before relying on exact wording.
Do I need Paraspeech if Voice Memos already shows a transcript?
Not necessarily. If Apple's transcript is available and meets your needs, copy and review it. Paraspeech is the relevant path when you want the saved recording handled as a separate local file-transcription job on the Mac.
Turn one saved recording into editable text
Start with the native transcript because it may solve the job immediately. If it does not, make the recording a local Finder file, confirm the offline model is installed, add the file to Paraspeech, and review the result before copying or exporting it.
Download Paraspeech for Mac to try the local file-transcription workflow. Check pricing before choosing access, and keep the original recording until the reviewed text is safely in its destination.