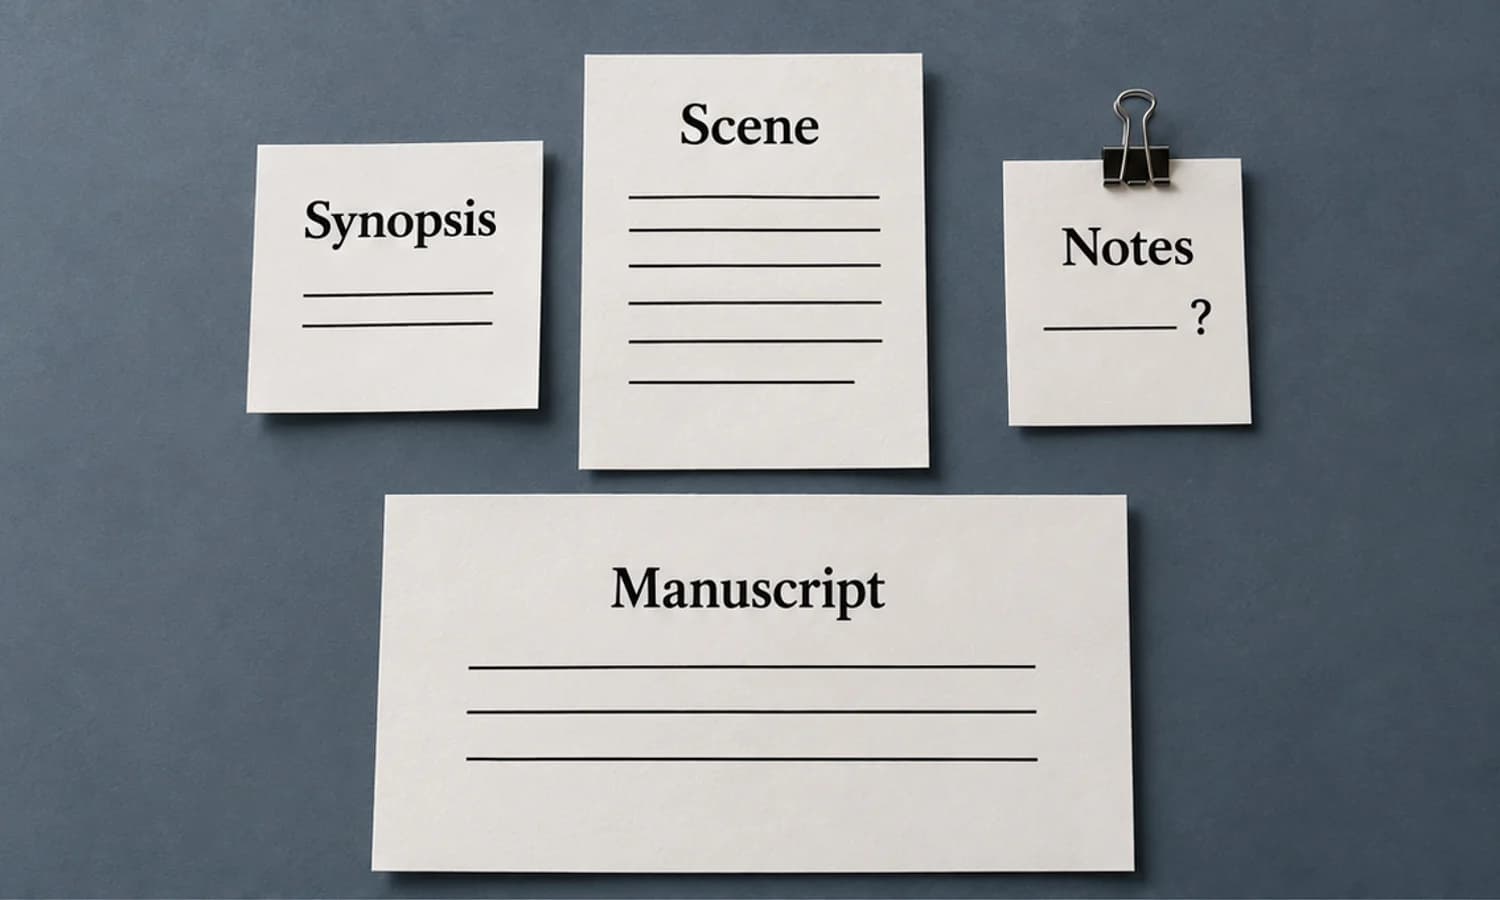
Scrivener dictation on Mac can use macOS Dictation or text copied from a separate transcription app. Select the intended Binder item, then decide whether your words belong in its scene Editor, Synopsis or document Notes. After drafting, compile a small sample and inspect the exported file: text in the right project is not necessarily text in the right manuscript output.
The useful distinction is what you are saying. “She refuses to explain the key” is a scene summary. A character’s refusal belongs in the prose. “Check the archive’s closing time” is a research task. Speaking all three into the Editor creates an editing problem that better recognition alone cannot solve.
This guide uses official documentation checked September 20, 2026. The scene below is invented, and the procedure is not a report of hands-on Scrivener testing.
Choose the Binder item before the text destination
Start with a single scene document selected in the Binder. Read its title, then look at the Editor and Inspector before entering anything. This matters because the Inspector’s contents depend on the selected Binder item. A perfectly transcribed reminder attached to the wrong scene is still misplaced.
For this first pass, work with one scene rather than a combined view of several documents. You want an unambiguous answer to “which scene will own these words?”
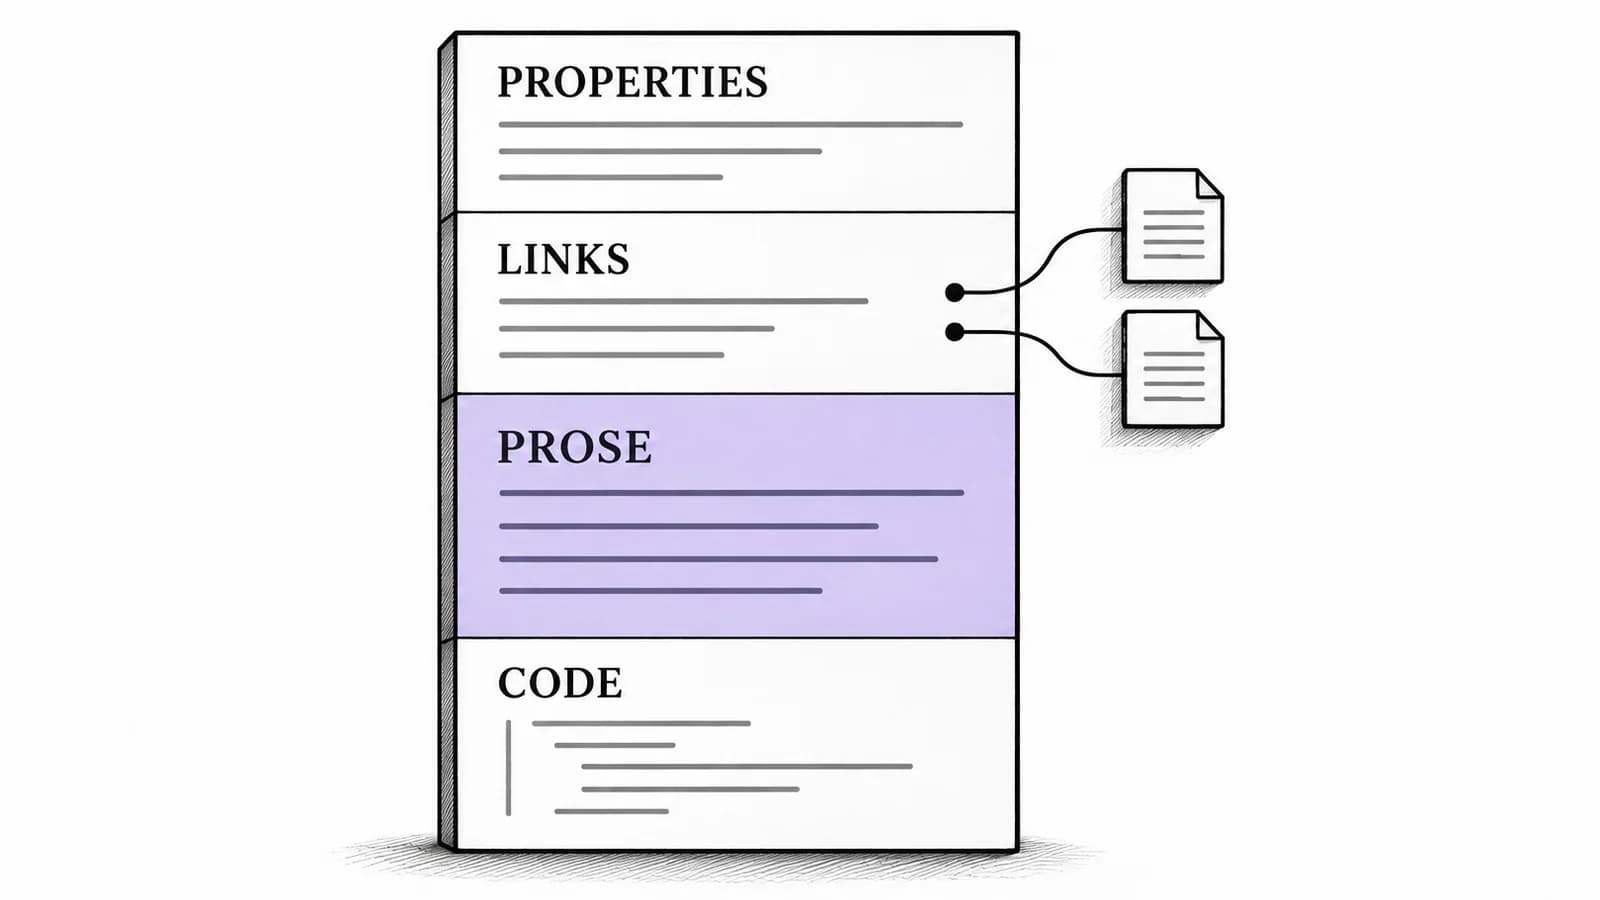
| Destination | Put this kind of text here | What you use it for later |
|---|---|---|
| Scene Editor | The sentences the manuscript reader should encounter | Revising the actual scene and compiling its text |
| Synopsis in the Inspector | A short account of what the scene does | Recognizing the scene in the outline or Corkboard |
| Notes in the Inspector | Questions, reminders and unresolved research about this item | Returning to the uncertainty without treating it as finished prose |
Literature & Latte’s Inspector guide distinguishes Synopsis from the Notes area below it and explains that synopses also appear in the Outliner and Corkboard. Its notes guide confirms that document notes stay attached to the particular file or folder.
Those are useful destinations for a writing process. They are not a promise that every Compile format will include or exclude the same material.
Dictate one scene in three separate passes
Use a disposable project for this example. Name the scene Scene 7 — The locked archive, select it in the Binder, and enter each passage only after choosing its destination. These are synthetic writing samples, not transcripts produced by any app.
Synopsis: record the scene’s purpose
In Synopsis, enter:
Iona returns the key but does not explain where she found it.
This is enough to identify the scene when you review the outline. It says what the scene contributes without committing you to the exact dialogue. Adding every spoken sentence here would make the overview harder to use.
Editor: write what the reader will encounter
Move to the scene Editor and draft:
“I did not open the cabinet,” Iona said. “The key was already on the table.”
Review the denial as well as the punctuation. If “not” disappears, Iona admits the act instead of denying it. That is a story change. Correct it before continuing, even if the resulting line otherwise sounds natural.
The quotation marks shown here represent the intended edited prose. They are not a claim about what a dictation engine will insert automatically.
Document Notes: preserve what you still need to establish
Move to the Notes area for the same scene and enter:
Check whether the archive closes at six. Do not treat six as confirmed.
This is an instruction to the writer. It should not silently become “The archive closed at six” in the scene, because that would turn a research question into a fact. Keep the uncertainty visible until you resolve it.
Stop between passes and check both the Binder selection and the destination. You are choosing where each passage belongs; speaking the words “synopsis” or “note” does not perform that routing for you.
If you interrupted yourself and dictated all three into the Editor, separate them before writing more: retain the dialogue as prose, move the scene summary into Synopsis, and move the unresolved closing-time reminder into document Notes. Keep the reminder’s question intact while moving it.
Start speech input without changing the writing workflow
Literature & Latte documents two approaches: use operating-system dictation inside Scrivener, or copy a transcription into the project. Neither requires changing the three destinations above.
For built-in Mac dictation, enable System Settings > Keyboard > Dictation, place the insertion point in the intended editable text area, then use your configured Dictation shortcut or Edit > Start Dictation. Stop with Escape when finished. Apple’s current Dictation guide documents these controls; shortcut availability depends on your Mac and settings.
Apple also documents automatic commas, periods and question marks in supported languages. You do not need to adopt the older blanket advice that every punctuation mark must always be spoken. Still review dialogue punctuation and paragraph breaks yourself. For the broader setup, use the Mac speech-to-text guide.
If you prefer to record or dictate elsewhere, transfer one passage at a time. Select the correct scene and text area before pasting. A single long block mixing prose and reminders recreates the same separation problem regardless of which app recognized the speech.
Output review and documented manual handoff
Paraspeech can supply the text for that external-draft route. For direct-download Mac 1.7.2, build 367, the released output path includes clipboard delivery and an attempt at automatic paste where permissions and the destination permit it. This guide uses the documented manual copy-and-paste handoff; it does not establish automatic compatibility with Scrivener’s individual fields.
Choose Transcription Only under the released Default Output control if you want to skip the LLM rewrite before reviewing the scene draft. Other text normalization can still occur. Cloud Cleanup and eligible On This Mac Cleanup are separate choices; neither should decide whether a sentence belongs in Synopsis, prose or Notes. Paraspeech’s documentation covers text output and the distinction between speech recognition and cleanup.
For the example, obtain and review each short passage, select Scene 7, place the insertion point in its intended text area, and paste. Confirm that the prose still contains Iona’s denial and that the note still asks a question. If you use cleanup, make those same checks on its final text before moving it into the project.
Use a separate dictation app only if it helps your speech-drafting process. The writer software guide covers that choice; Scrivener’s project organization and Compile settings remain your decisions.
Scrivener is named to identify the writing application. Paraspeech is not affiliated with, sponsored by, or endorsed by Literature & Latte. This is independent workflow guidance, not a tested integration claim.
Compile a sample of the intended manuscript
A scene that looks right in the Editor still needs an output check. Scrivener’s Compile process combines selected project material and applies the chosen formatting. Literature & Latte’s Compile guide explains that project templates, formats, section layouts and inclusion choices affect the result.
In the disposable project, use this proposed check:
- Choose File > Compile and select a suitable output, such as PDF or Word, from Compile for.
- Choose the intended format. Review the section layout applied to the scene; its exported formatting may differ from the Editor.
- In Compile Options, include Scene 7 and exclude other test items you do not want in this sample.
- Save the sample locally, open it, and inspect the actual file before sharing it.
For this example, the manuscript sample should contain Iona’s dialogue. The one-line synopsis and the closing-time question are working material you intended to keep out of this particular output. Search for “returns the key” and “closes at six” as well as reading the page; their presence would tell you the sample does not yet match your intention.
If extra text appears, first locate it in the project. A reminder left inside the Editor needs to be moved out of the prose. If the extra content is in an associated field or another Binder item, inspect the chosen format, section layout and inclusion settings. Do not solve the problem by assuming that every export automatically omits notes or synopses.
Once the sample contains the intended prose, expand the same output check to the chapter. The completion signal is concrete: the right scene owns each passage, unresolved research remains identifiable, and the compiled manuscript contains the material you meant to share.