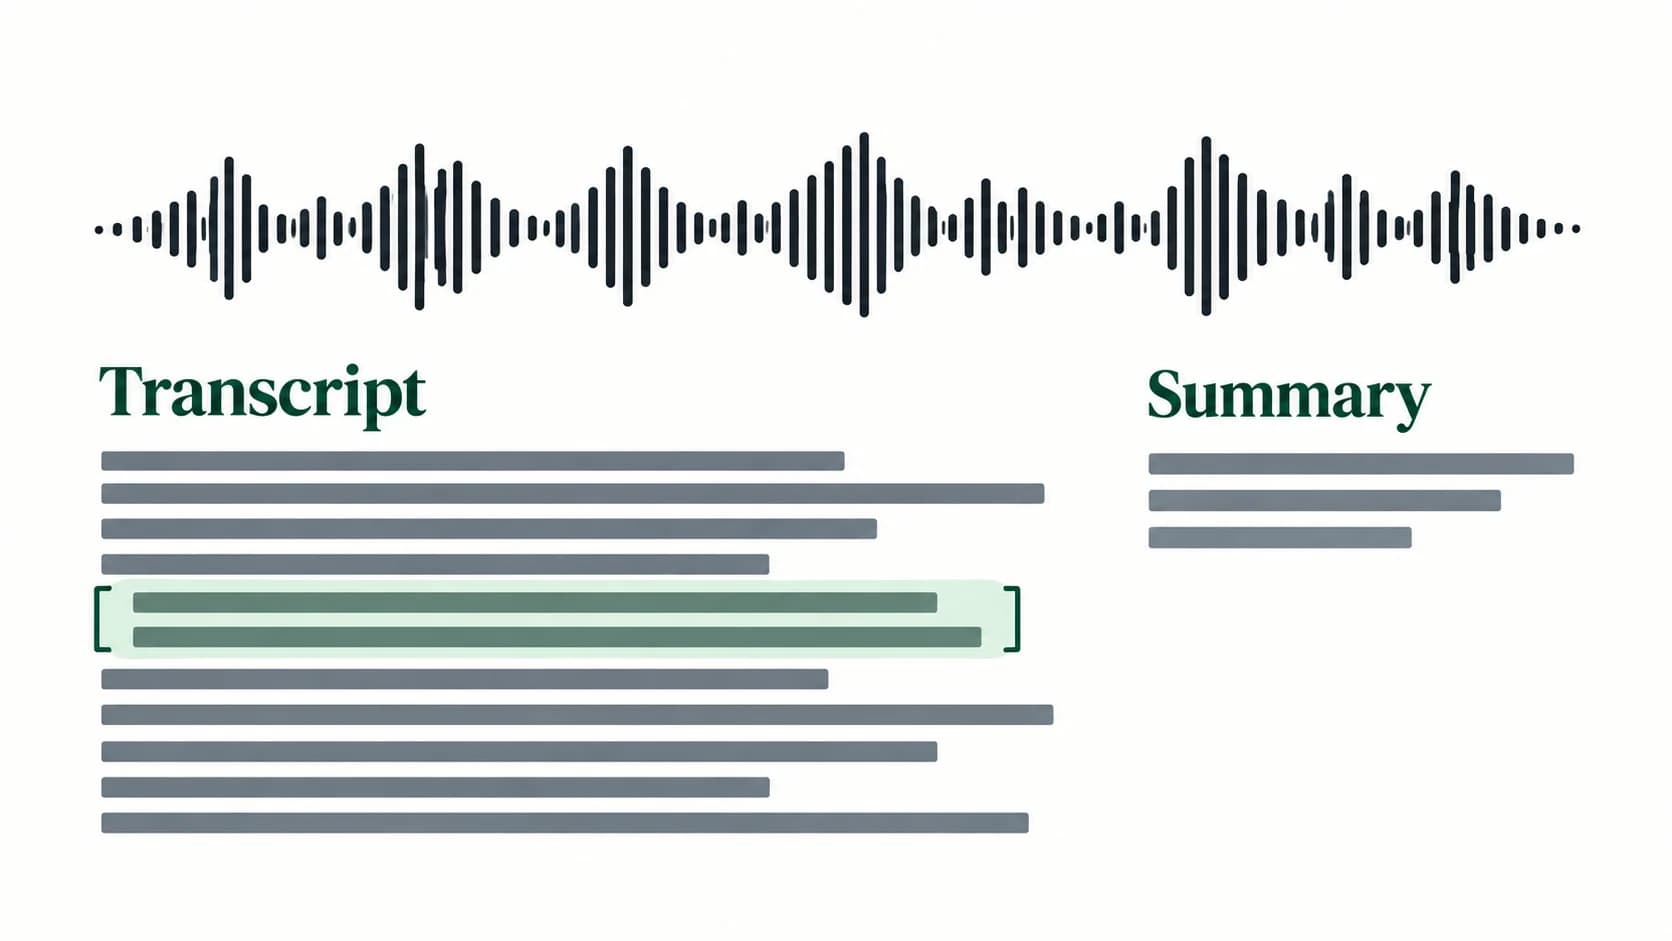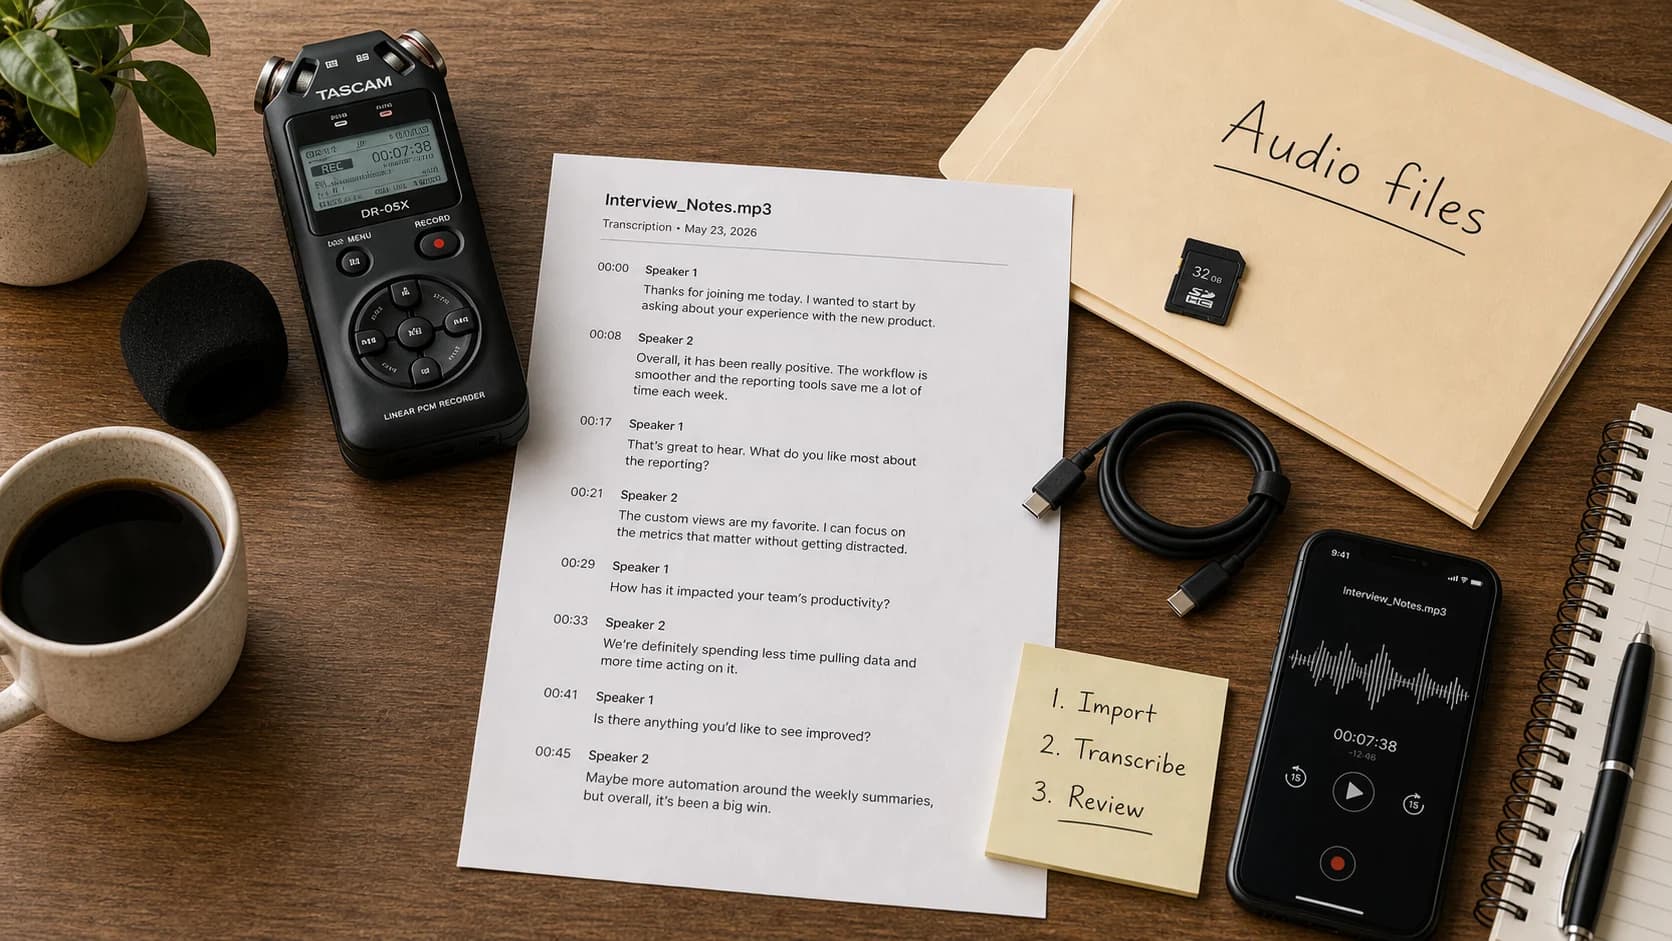
To transcribe Voice Memos on Mac, open the recording in Voice Memos and select the Transcription button. If a transcript is available, select its text, Control-click, choose Copy, and paste it into your editor. Check that native route before transferring audio to another app.
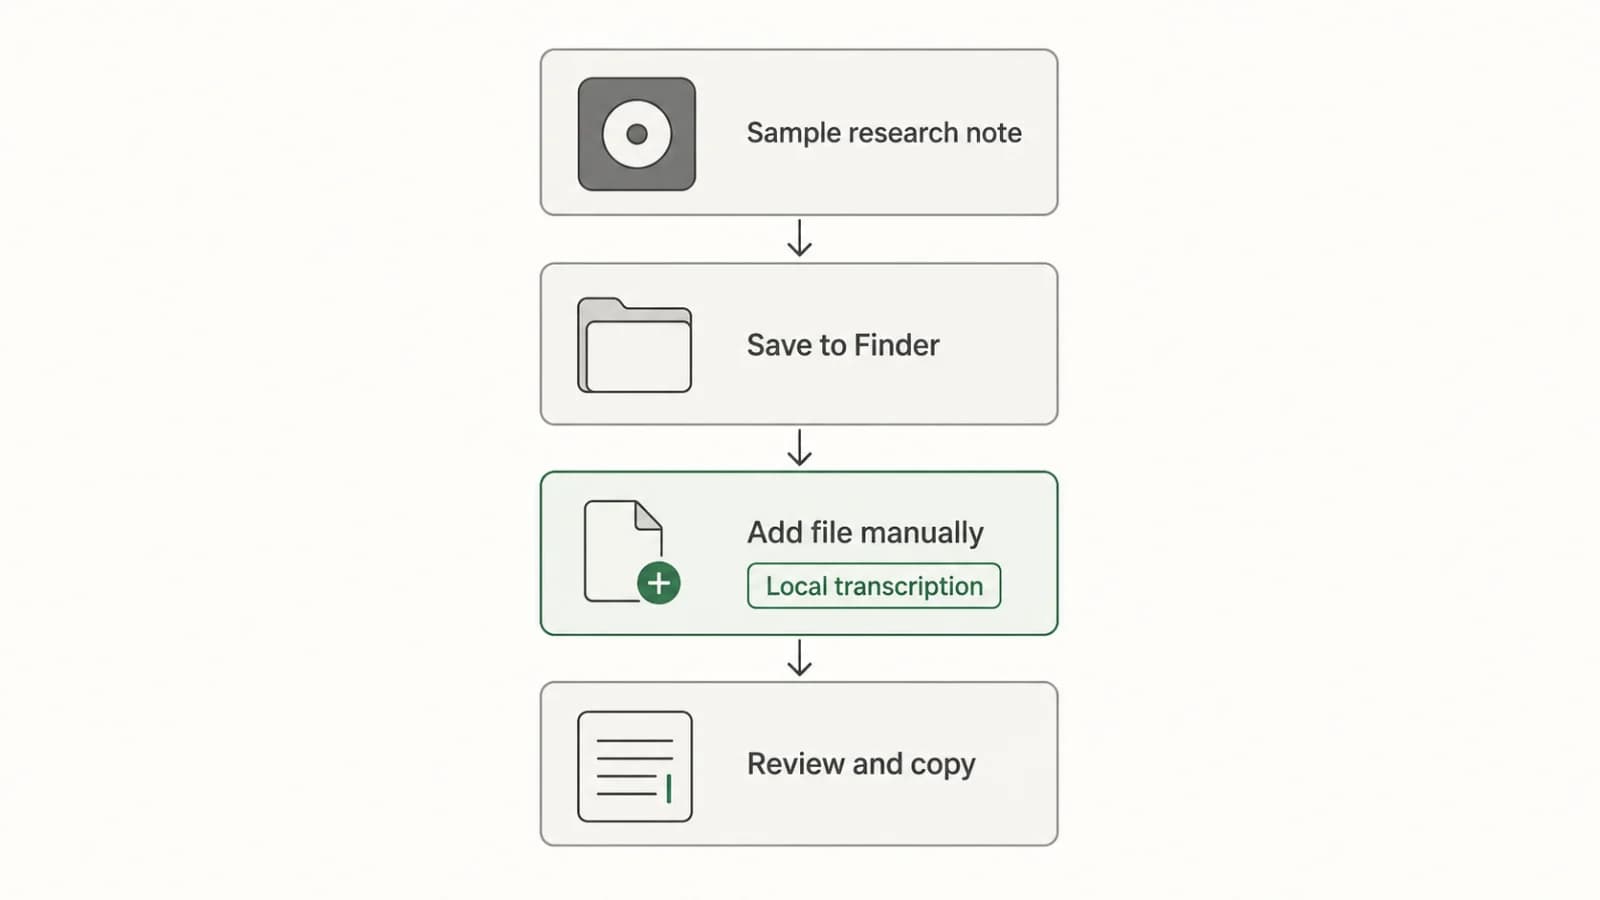
For a separate file workflow, save the recording in Finder and add it manually to a transcription app. Paraspeech can recognise supported local audio files with a downloaded local model on a compatible Apple Silicon Mac. Optional rewriting is a separate processing step.
Documentation checked: 23 October 2026. The workflow illustration uses a fictional research note.
Check the native Voice Memos transcript first
Apple introduced Voice Memos transcription with macOS Sequoia 15 on Apple Silicon Macs. Its Sequoia guide states that requirement; the current guide explains how to view and copy text and notes that transcription is unavailable in some countries or regions. Use the version selector for your macOS rather than assuming every Mac has the feature.
In Voice Memos, select the recording, click Transcription, then select and copy the words you need. Apple also says older recordings can be transcribed when opened on a supported setup if they contain speech. You do not need to record the memo again just because it was made on an older device.
| Your situation | Next step |
|---|---|
| Voice Memos shows a usable transcript | Copy it into your editor and review it against the recording. |
| You need a separate local file-transcription job | Save the audio to Finder, then use a compatible local model. |
| The recording is only on your iPhone | Use Voice Memos iCloud access or share the audio file to your Mac. |
| Your Mac cannot run the required local model | Choose a transcription workflow that explicitly supports your hardware; Paraspeech’s cloud dictation support on Intel does not make its local file workspace an Intel solution. |
Get a usable recording file onto the Mac
From Voice Memos on Mac: select the recording and drag it into a Finder folder. Play the saved copy once to confirm it contains the audio you need. Apple documents the drag-to-Finder route in Share a recording on Mac.
From iPhone through iCloud: sign in to the same Apple Account and enable Voice Memos in iCloud on both devices. Open the Mac’s Voice Memos app, then save the recording to Finder. If Voice Memos does not appear in the Mac’s iCloud app list, Apple says to open it first and check again. Layered recordings need additional care: Apple says those recorded on supported iPhones do not appear on Macs running macOS 15.1 or earlier. Apple’s device-access instructions
From iPhone through sharing: select the recording, open More Actions → Share, then choose a route such as AirDrop. Where Options offers Rendered and Editable, choose Rendered for a single .m4a file with effects and layers mixed into the audio. Editable sharing is for compatible editing workflows. Apple’s iPhone sharing instructions
If AirDrop has already saved the recording as a file on the Mac, use that file directly. You do not need to import it into Voice Memos and export it again. Keep the original until you have checked the transcript.
Transcribe the saved file with Paraspeech
We make Paraspeech; it is not affiliated with or endorsed by Apple. This is a manual file handoff, without a Voice Memos library-sync integration.
- In Paraspeech, choose and download a supported local speech model. The initial download needs internet; local models require compatible Apple Silicon hardware and may have their own macOS requirements.
- For text that must remain local, turn off optional Rewrite or select an eligible on-device rewrite model. For an entirely local workflow, rewriting must stay on the Mac too.
- Open the file-transcription workspace and add or drop the recording from Finder. The released file picker accepts
.m4a, including the rendered file route described above; a file extension alone does not guarantee every codec or damaged recording will decode. - Wait for transcription to finish, review the result alongside the audio, then copy the text or export VTT.
The file-recognition path requires a local model with file support. It does not switch the recording to cloud speech recognition when that model is missing. Optional rewriting can process the recognised text afterward, and history storage is a separate choice. Check those settings before using a sensitive recording. Paraspeech documentation, local model and processing requirements
For other recording types and workflows, use the audio-file transcription guide.
Review the right output for your destination
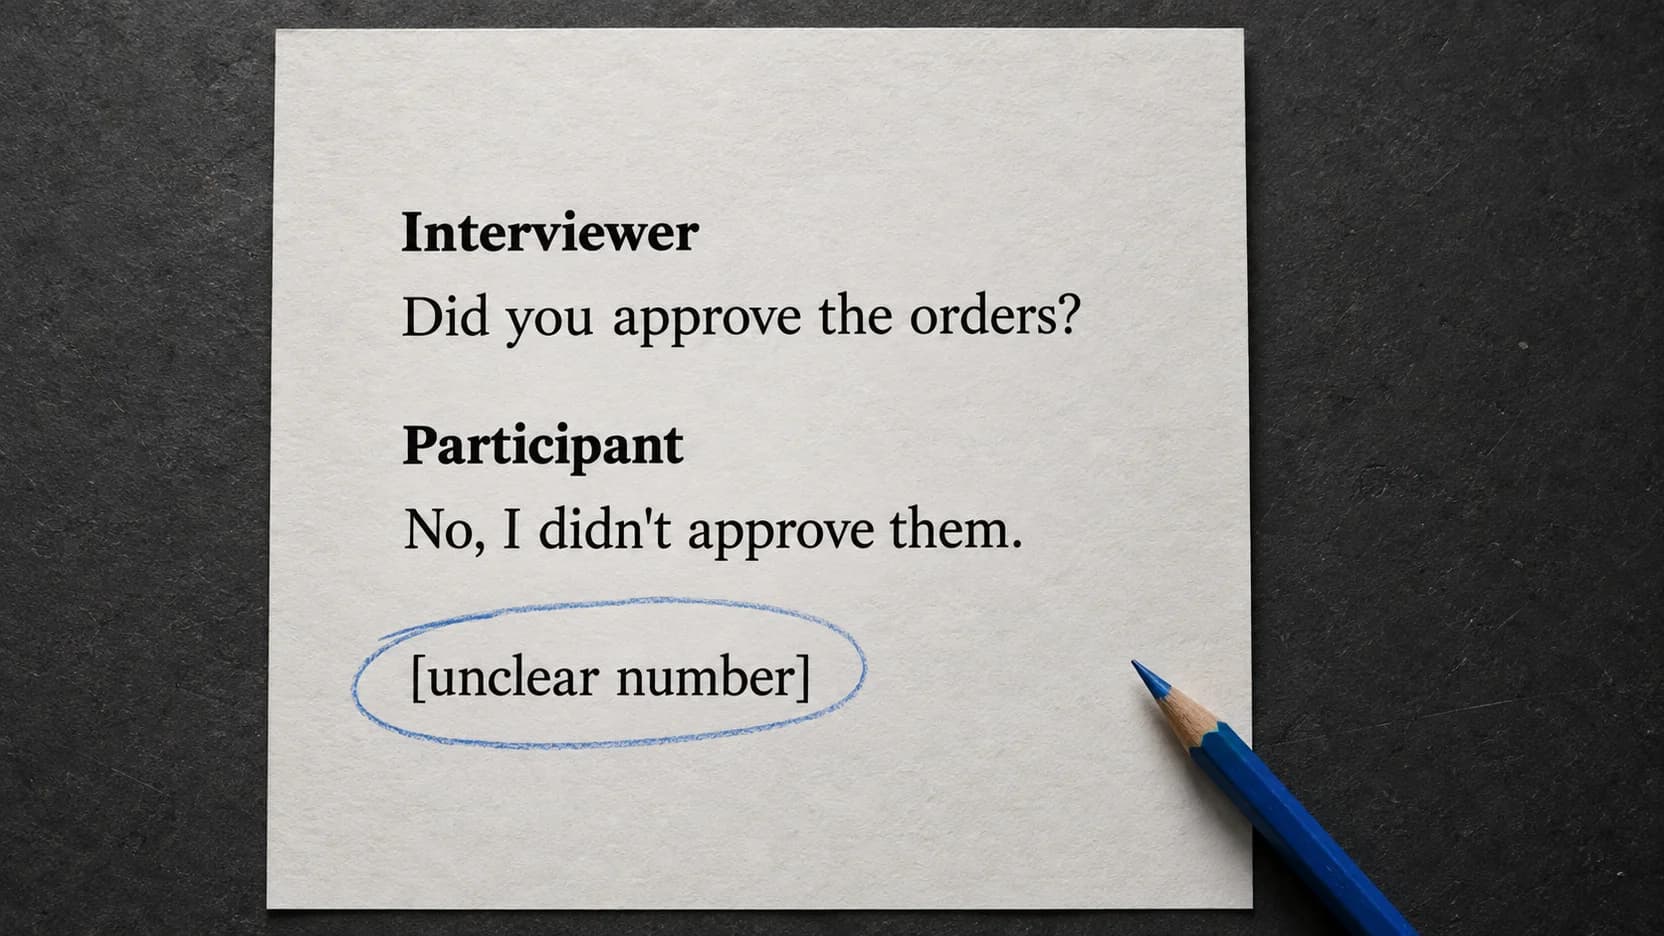
Replay names, numbers, negations and quotations before using the transcript. If you cannot hear a passage clearly, mark it for review instead of filling in a plausible sentence. Correcting punctuation cannot repair a changed fact.
| Destination | Use this output |
|---|---|
| Notes, Pages, Word or email | Copy the transcript, paste it into the editor and make the final corrections there. |
| Captions or another timestamp workflow | Export VTT and review both the words and their alignment with the audio. |
| An exact quotation | Check the wording against the recording before sharing it. |
Paraspeech’s released VTT export is built from the raw speech transcript. Text returned after optional rewriting can therefore differ from the VTT words. Review the export itself; changes to the copied text do not automatically appear in the caption file.
If the handoff breaks
| Problem | Check first |
|---|---|
| Recording appears on iPhone but not Mac | Confirm the same Apple Account and Voice Memos iCloud setting, or share that recording directly. Check the layered-recording OS limitation above. |
| Paraspeech asks for a local model | Finish downloading a compatible file-capable model before adding the recording again. Cloud dictation is a different route. |
| File is visible but will not process | Download a complete local copy and play it in QuickTime Player. If it will not play, share or export a fresh copy; if it plays but still fails, retain the original and use a supported audio export. |
| Transcript is inaccurate | Replay the difficult section and correct it from the audio. Try another supported local model if the language or recording is a poor fit. |
For new text you want to compose by speaking, use the Mac speech-to-text setup guide. A saved voice memo belongs in the file workflow rather than a live microphone session.
Turn one recording into editable text
Keep the native transcript if it solves the task. If you need the separate local file workflow, download Paraspeech for Mac, check the current plan and local-model access, and try one recording before processing a larger set.