Choose a dictation microphone around where you speak. Keep the built-in Mac microphone if it already captures a usable draft in your normal position. Choose a headset when you turn your head or move while talking, a desktop microphone for a fixed writing position, or a handheld dictation device when holding it and using its controls fit your work.
Before buying, separate two promises: the Mac can receive the microphone's audio and the device's buttons can control your dictation app. One does not establish the other. A record button designed for another application may add nothing to your Mac writing setup.
About this guide: We develop and sell Paraspeech. Paraspeech is not affiliated with or endorsed by Apple or Philips. The guide uses their linked documentation and practical selection criteria; we have not run a matched microphone accuracy test.
Last checked: 13 October 2026.
Choose the shape around where you speak
A headset keeps its microphone in the same position relative to your mouth when you look between a screen and your notes. That makes it a sensible starting point for a writer who moves during a draft. Check whether wearing it for the whole session is comfortable and whether its mute control acts on the microphone.
A desktop microphone lets you speak without wearing or holding anything. Choose it when you have a regular seat and somewhere to place it without blocking the screen. Think about the position you actually use: a microphone that looks tidy at the back of a desk may be inconvenient when you lean forward to read.
A handheld dictation microphone puts the device and its controls in your hand. That can suit someone who deliberately starts and stops short passages, but it also occupies a hand. Its value depends on the controls you can actually use, not the number of buttons on the housing.
The built-in microphone remains a valid choice. If your present setup produces usable text and you are comfortable speaking there, buying a more elaborate device is optional. A new microphone will not choose the recognition language, repair a name or decide how the app rewrites your words.
For any external device, confirm the connection, required adapter or dock and support for your macOS version. Apple's sound input guide describes available Mac inputs, including supported headset input through the sound port; headphone playback alone does not establish microphone input.
Keep listening and recording choices separate
Your headphones and your microphone can serve different jobs. Use this distinction when reading a product listing or deciding what to connect:
| Capability | What you need to establish | What it does not prove |
|---|---|---|
| Audio input | The Mac and app receive speech from the intended microphone. | Headphones producing sound do not prove their microphone is selected. |
| Listening output | You hear playback through the intended speakers or headphones. | A pleasant listening experience does not establish transcription accuracy. |
| Application controls | The button sends an action the exact app supports. | A working microphone does not prove record, rewind or other buttons work. |
Apple documents a specific Bluetooth tradeoff: using a Bluetooth headphone microphone switches the connection into a simultaneous speaking-and-listening mode. Playback quality and volume can fall while that microphone is in use. That is a listening behavior, not evidence that Bluetooth always produces worse transcripts. Apple's Bluetooth audio explanation
If you want to listen through Bluetooth headphones while dictating through another microphone, make those two selections deliberately. Verify the actual input rather than assuming the device you hear through is the one receiving your speech.
Buy button control only when the app mapping is clear
Dedicated dictation hardware often combines audio capture with a controller. Read the control documentation before paying extra for that combination.
For example, the current Philips SpeechMike Ambient button-mode manual lists event, keyboard, browser and application-specific modes. Button assignments are configured through SpeechControl. Those modes describe different control mappings; a mode named for another application does not establish support in the app you use.
Look for the exact action you need: starting recording, stopping it, moving between fields or playing back a passage. Check the device model, software version and target application together. If the purchase depends on a record button, do not treat “Mac compatible” audio as sufficient evidence.
For plain spoken drafting, a normal microphone plus the dictation app's own keyboard shortcut may meet the need without a dedicated controller. Keep the controller premium for a workflow whose button support you can establish.
Use the chosen microphone for a real draft
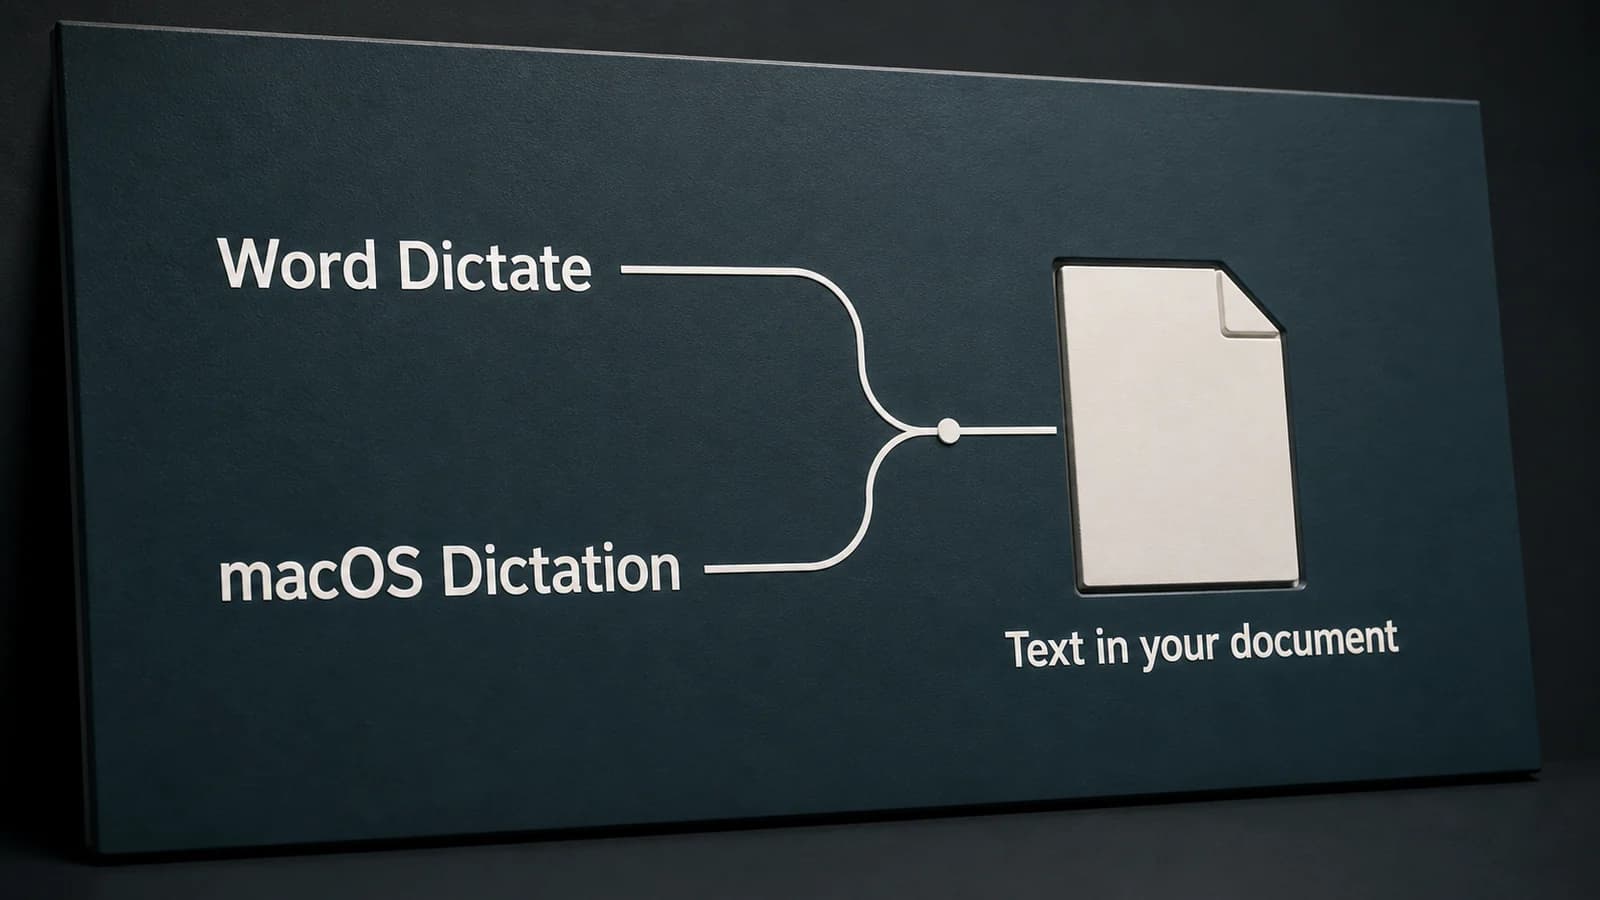
Choose the intended device in System Settings > Sound > Input and speak from your usual writing position. Watch the input level. For Apple Dictation, also choose Microphone source under Keyboard > Dictation; its Automatic setting can select the device macOS considers most likely. Apple's Dictation guide
For a shortcut-based drafting workflow, download Paraspeech for Mac, complete setup and grant the required microphone and Accessibility permissions. Hold your configured shortcut, speak one paragraph and release it, then review the attempted insertion in your editable field. These are the documented app controls, not a promise that a microphone's hardware buttons operate Paraspeech.
Paraspeech local speech requires supported Apple Silicon and a downloaded, ready model. Intel Macs use eligible cloud access. Normal recording after onboarding requires an eligible plan or trial; the direct Monthly and Yearly offer includes a seven-day trial with unlimited transcription count. See the offline requirements and current pricing for those choices.
If input is missing or Dictation does not start, use the Mac setup guide or Dictation troubleshooting guide. If the draft works comfortably with your existing microphone, you have already answered the buying question.