For audio-to-text transcription on Mac, first check whether the recording's current app already provides a usable transcript. If it is still in Voice Memos, check the native transcript first: Apple documents transcription on Apple silicon Macs with macOS 15 or later, where available by country or region. The Voice Memos transcription guide covers that workflow.
For a saved file in Finder without a usable transcript, choose a local file-transcription app or a cloud service that accepts uploads. Apple Notes is the built-in option when you make the recording inside Notes on a supported Mac; Apple's current guide does not document importing an arbitrary saved audio file for transcription.
Choose a local-processing app when you want the file processed on your Mac after setup. Choose a cloud service when browser access, shared workspaces, or hosted processing matters more. Whichever route you use, turn the recording into a draft, then check names, numbers, quotations, and unclear passages against the audio before using the text. If you want to speak live into the app at your cursor, use the Mac speech-to-text guide instead.
Choose the Route Before You Process the Recording
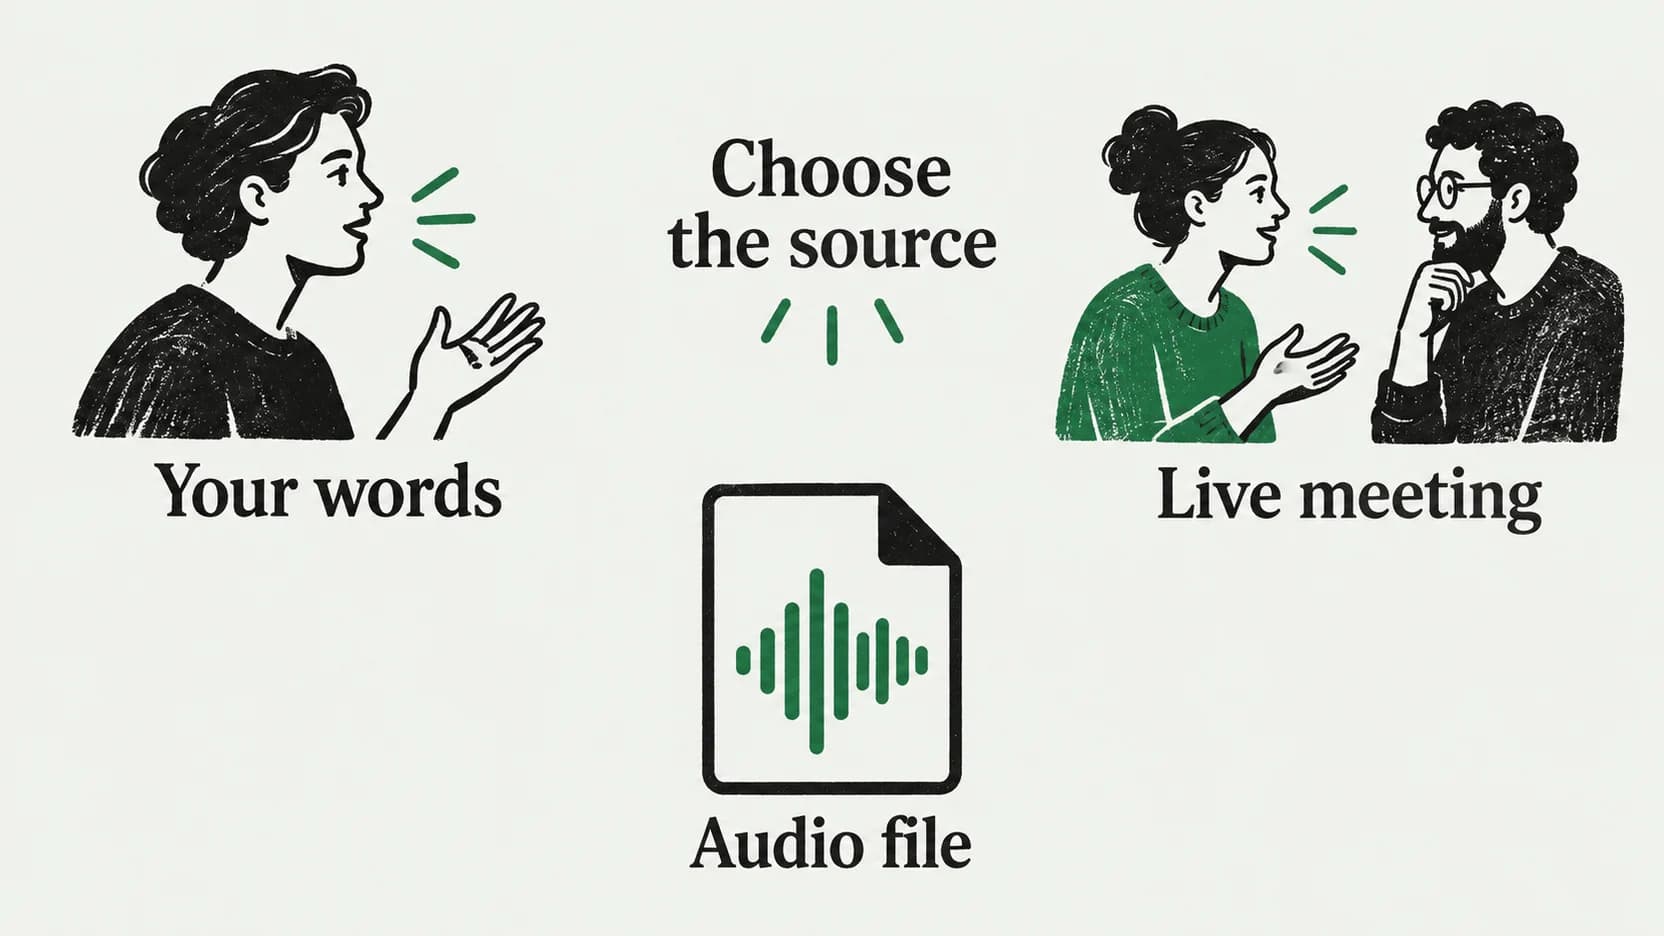
| Starting point and priority | Best route | Why |
|---|---|---|
| The recording is still in Voice Memos on a supported Mac | Check Voice Memos first | A usable native transcript may already be available without exporting the recording. |
| You have not recorded yet and want the transcript in the same note | Apple Notes | Recording, transcript search, and transcript copy stay in one built-in workflow on supported Macs. |
| You have an arbitrary Finder or outside-app file with no usable native transcript and want documented on-device processing | Local-processing file-transcription app | The app explicitly processes the file on the Mac instead of routing it through a hosted upload. |
| You have an arbitrary Finder or outside-app file with no usable native transcript and need browser access or collaboration | Cloud service | Hosted tools are the better category when sharing and remote access are part of the job. |
For a saved file, follow a documented file-import workflow. Apple’s cited Notes instructions cover recordings made inside a note.
Use Apple Notes When You Record in Notes
Apple's current Notes User Guide says you can start, pause, and resume a recording inside a note. You can then open the recording details to view the transcript, search within it, or copy the transcript into the note.
This route has specific limits. Apple says audio transcription is available on Mac computers with M1 or later when the device language is set to one of the languages listed in its guide. Apple also notes that all features described on the page are available with iCloud notes, while some may not be available with other account providers. Check the linked guide for the current support list before relying on the feature.
For a future interview or lecture, Notes may be the shortest path because capture and transcript live together. For a recording made elsewhere, use a documented file-transcription workflow rather than assuming a Notes attachment will receive a transcript.
Choose a Local Mac File App for an Existing Recording
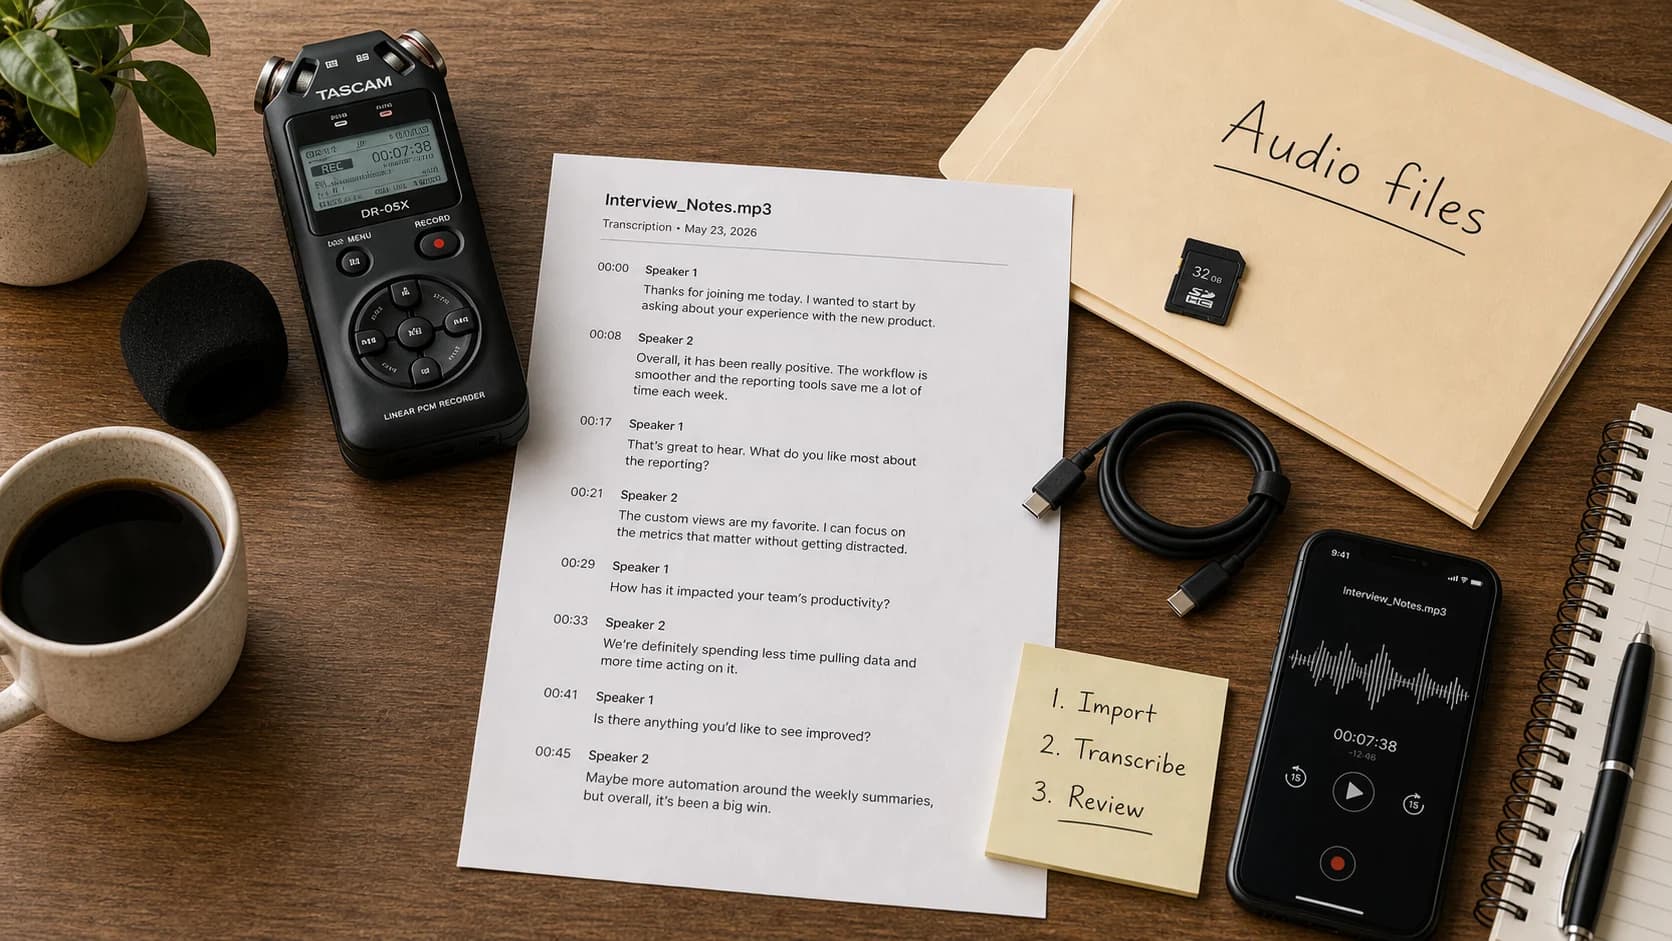
A local-processing file app is the straightforward choice when the recording is already on the Mac and on-device processing is the requirement. Confirm that the vendor explicitly documents local file processing, finish any model setup, add the recording, and wait for the transcript. Keep the source file until the text has been reviewed and exported.
Local does not mean setup-free. Some apps require a speech model to be downloaded before they can process a file. It also does not remove the need to listen back: names, numbers, overlapping speakers, and low-volume passages are exactly where a polished-looking transcript can still be wrong.
Use Paraspeech for a Local File
Paraspeech's Mac file workflow requires a downloaded offline model. After processing, copy the transcript to the clipboard or export VTT. File support depends on the container and codec; test a short sample before relying on a long recording.
To try this workflow, download Paraspeech, install an offline model, and test one non-critical recording. Compare the copied text with the source audio before deciding whether the workflow suits your files.
Choose a Cloud Service When the Work Must Travel
A cloud service makes more sense when the transcript needs to be available away from one Mac or passed among several people. It can also be the practical route when a local app does not accept the file you have. The tradeoff is that the recording is uploaded and processed under that provider's current terms.
Before choosing a provider, confirm the exact upload format and size limits, the collaboration or export feature you actually need, and how the service says it handles and deletes recordings. Those details change by provider and plan, so verify them on the provider's own pages instead of relying on a generic comparison.
Review the Text Against the Audio
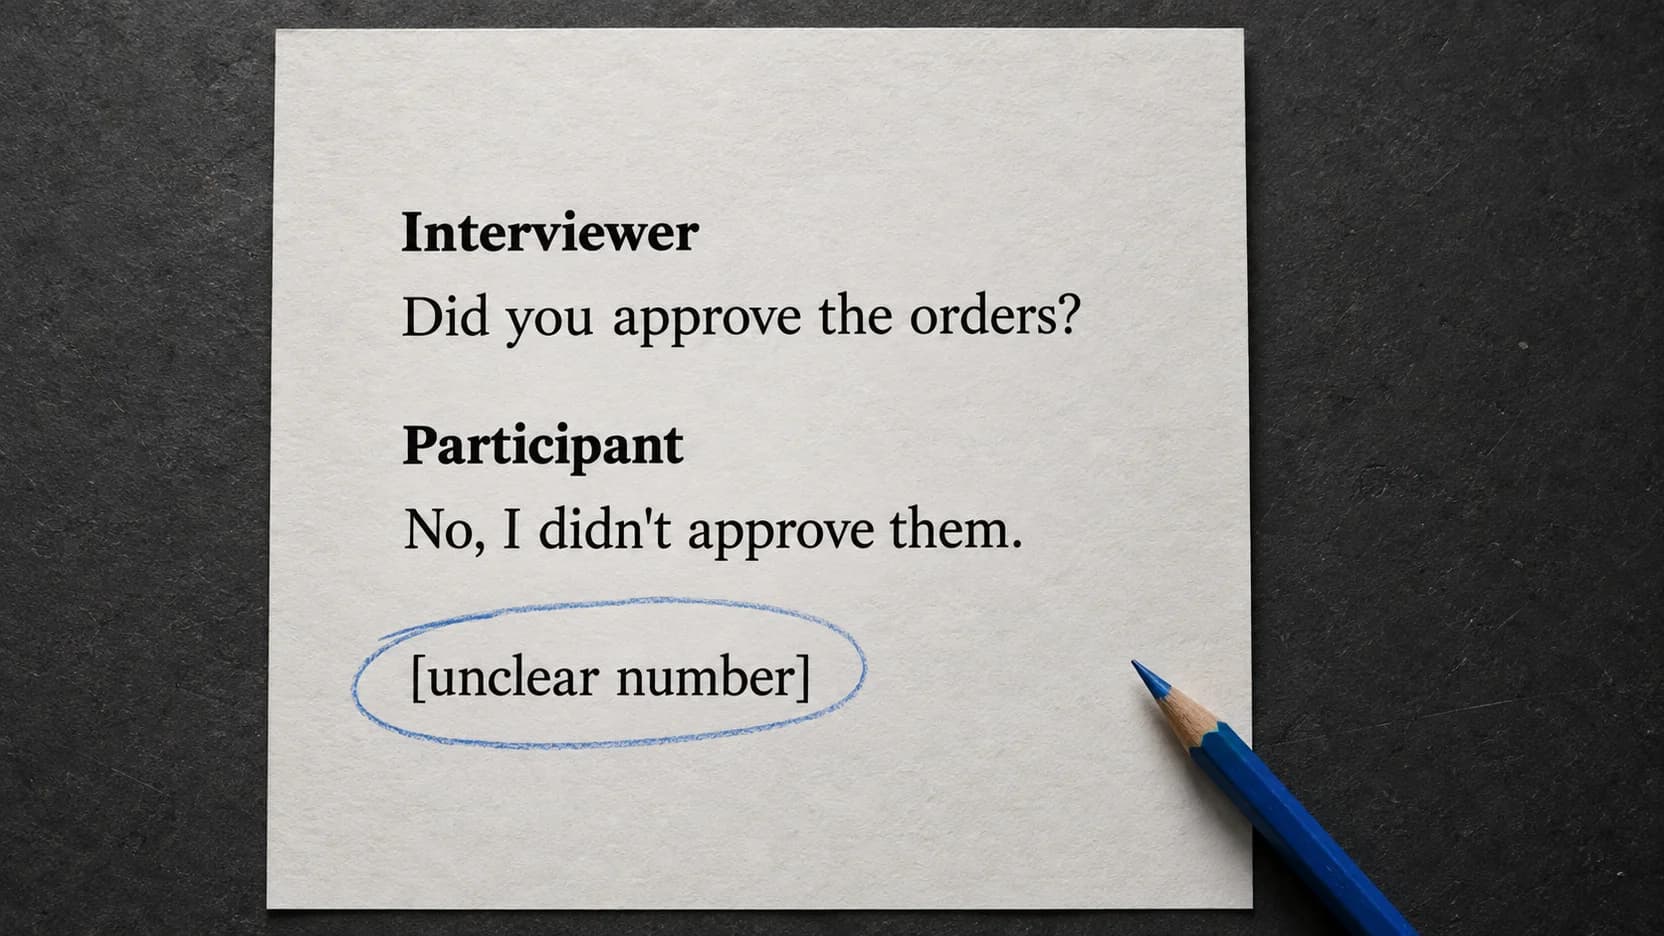
Do one focused review rather than reading the transcript as ordinary prose. Search for every proper name and number first. Replay passages containing quotations or decisions. Then listen to any sentence that reads strangely, because awkward grammar often marks a recognition error or a speaker change.
Use plain copied text when timing does not matter. Use VTT or another timestamped export when the transcript will become subtitles or when reviewers need to jump back to the matching audio. Keep the original recording until the final text or subtitle file has passed that check.
For an episode, the podcast transcription workflow covers checking speaker turns and preparing the transcript for publication.